EverWeb’s Tale of Two Scroll Positions
Sunday, April 12th, 2026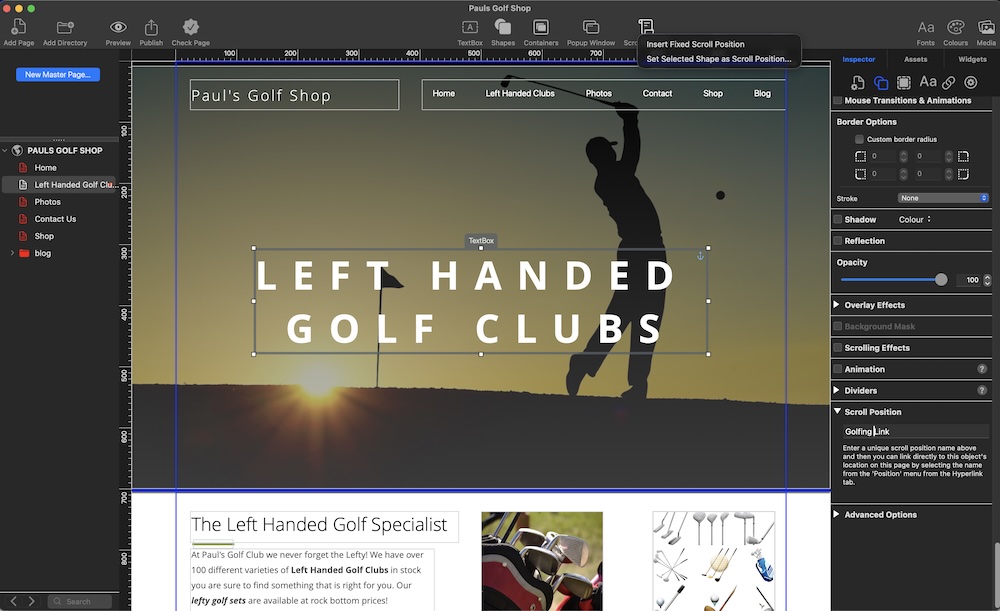
If you have ever wanted to hyperlink a button, or a piece of text, in your site to a specific point on a page, EverWeb‘s Scroll Position is the feature that you will need to use. Hyperlinking in this way is like a ship dropping an anchor. The ship is always anchored to the anchoring point. The same is true when you use Scroll Position. You use one object on a page as the anchoring point to which other objects, such as a button or piece of text, are tethered to.
Introduced back in EverWeb 2.6, this was a time when EverWeb only supported Fixed Width page layouts. When Responsive Page Layouts were introduced to EverWeb in version 2.8, there was a need to introduce a new form of Scroll Position. This came when Set Shape as Scroll Position was added to EverWeb in EverWeb 3.2 in April 2020.
A Tale of Two Scroll Positions
So you may be wondering, why do we need two different types of Scroll Position? Essentially, we only really need one type of Scroll Position, that being Set Shape As Scroll Position. The reason being that this type of Scroll Position can be used on all page layout types, both Fixed Width and Responsive.
The other Scroll Position type, Insert Fixed Scroll Position, can only be used on a Fixed Width Page Layout but remains so that you if you are created a Fixed Width website using Scroll Position before EverWeb 3.2 then you are are still supported.
Essentially Insert Fixed Scroll Position remains for legacy purposes. It is also visually very distinctive is uses a horizontal line to easily show you where the Scroll Position is located on the page. For those using the Centered Layout page layout type it’s very easy to use.
With all this EverWeb history in mind, let’s look at the two Scroll Position versions in more detail…
Scroll Position For Fixed Width Pages
As mentioned above, EverWeb introduced Scroll Position with EverWeb version 2.6 back in December 2017. At this tine EverWeb was designed for use only with Fixed Width pages in mind, i.e. the Centered layout and Left Aligned layouts. For long time EverWeb users, there was a third page type that existed at the time called Dynamic. In reality the Left Aligned and Dynamic page layout types were not used, so the Centered Layout type was the one we all used.
The addition of the Scroll Position feature also meant that the feature was also added to EverWeb’s Toolbar. It still remains there to this day, but also can be accessed using the Insert-> Insert Fixed Scroll Position menu option.
When you add this type of Scroll Position, it will be added to the page as a blue line across the page. You can drag and drop the line to where you want it placed. Each Scroll Position that you add also has a unique name on the page that it is on. You can easily change the name, just select the Scroll Position then change the name by clicking on the Widget Settings tab in the Inspector Window then editing the Unique Name field. By default, the name given to the Scroll Position is the pixel point on the page that the Scroll Position is initially located at.
To use the Scroll Position, select the text in your button, or piece of text you want to use, then go to the Hyperlinks Inspector. Check the box ‘Enable as Hyperlink’. The Link To field should be set as ‘One of My Pages’. The Page field should either be set to ‘Current’, or the name of the page the Scroll Position is located on. This means that you can link to positions on other pages in your site. Once you have completed these steps, test your page using the Preview button in the Toolbar.
If you want to delete the Scroll Position, simply highlight it, then press the Backspace key.
Scroll Position For Responsive and Fixed Width Pages
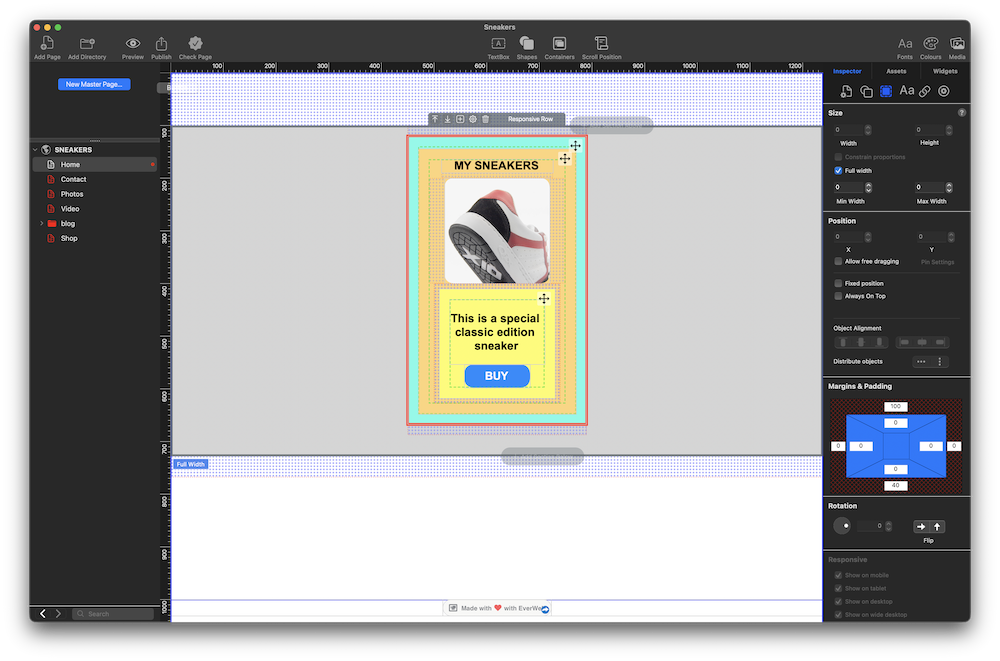
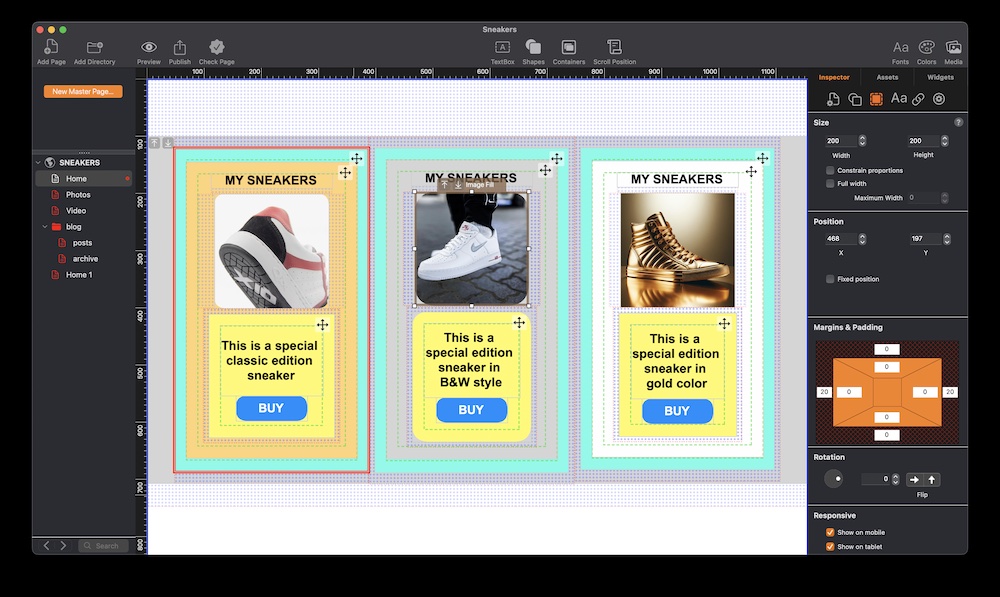
Set Shape as Scroll Position debuted in EverWeb 3.2 and as its name implies, you add your Scroll Position to an object on the page. To use this feature, select the object that you want to scroll to. This could be, for example, a shape, TextBox or even a widget such as the FlexBox widget. Remember that you can use this type of Scroll Position on either a Fixed Width or Responsive Page. After selecting the object that you want to use, go to the Scroll Position button in the Toolbar. Select the ‘Set Shape as Scroll Position’ option. You will see that a blue anchor symbol added to the selected object. You will also be asked at the same time to name the Scroll Position with a name that is unique to the page.
You can then use the Scroll Position in the same way as outlined in the section above for Insert Fixed Scroll Position.
If you want to rename the Scroll Position, select the object that uses the Scroll Position. Next, go to the Shape Options tab and open the Scroll Position section if it is not already open. Edit, or enter a new name. If you want to delete the Scroll Position just leave the field completely empty.
Displaying Scroll Position
When using Scroll Position, you will either see a blue horizontal line if you used Insert Fixed Scroll Position, or a blue anchor symbol in the top right hand corner of the object if you used Set Shape as Scroll Position. The Insert Fixed Scroll Position visual indicator will always display. When using Set Shape as Scroll Position the anchor symbol will not display if you have set Window-> Show Layout to ‘Hide Layout’ in which case it will not be visible..
Which Scroll Position To Use?
Our recommendation is to use Set Shape as Scroll Position. The main reason for this is that even if you are currently working in a Fixed Width environment, you may at some stage migrate to a Responsive Page Layout, so you will be working consistently at all times just using one style of Scroll Position. No frustration or relearning needed!