Documenting Your EverWeb Website Project
Sunday, February 21st, 2016Documenting your website project is the kind of task you can always ‘do later’. If you’ve got a backup of your EverWeb Project file then what’s the hurry? Well, there are a few good reasons why you should…
- Documenting gives you a snapshot of your website project at a specific point in time. It’s your reference tool for the future. If you have to change, or update, your website at a later date your reference document could suddenly become very useful.
- Documenting helps if you need to rollback any changes you’ve made later on.
- As you probably know, including SEO in your EverWeb project is essential, but documenting your SEO words and text is also important. If at any time you need to recreate website pages you’ll need to recreate the SEO as well.
- You’ll be able to keep track of your Project file’s resources. When you create an EverWeb Project file you’ll inevitably import image files, drawings, text content etc. from a variety of different sources and locations. Documenting where your source material comes from will save time and effort if you need to retrieve it in future.
- Your Project file’s technical specifications should be recorded somewhere. Having to remember and recreate your page settings, font styles, color choices, hyperlinks etc. from scratch is something you won’t want to do. And don’t forget that recreating any code you’ve added to your website can be very time consuming.
- If you collaborate with others on your website project everyone benefits from having a common reference source. It’s also useful if you are handing off the project to others at a later stage.
- Documentation is good for your clients! Having a properly documented website shows that you’re professional, have standards and work in an organised, methodical way.
Who Are You Documenting For?
You may be documenting your website Project for yourself, for your company or for your client. If you are documenting for a client, consider creating a technical document for yourself and a non-technical version for your client.
Do You Need Any Documentation Tools?
The answer to this question depends on the level of detail you want, the audience you’re creating the documentation for and the size and complexity of the website itself. For large websites with many pages you may want to use a project management tool such as Asana or Trello. These tools are collaborative so great for group environments. Mind mapping tools, such as Simple Mind, can also be of use to help you structure, plan and flesh out your documentation ideas. Alternatively, spreadsheet or word processing tools may be the easiest and most flexible tools for you to work with. Choose what’s best for you. Sometimes the simpler, the better. Learning a new app may take more time than it’s worth.
Using Screen Caps
You will probably take screen caps for your documentation. There are many tools available to do this but remember that OS X itself includes the ‘Grab’ app to do this task. OS X’s Preview app can also take screen captures using the File-> Take Screenshot menu. The last built in alternative is the OS X keyboard short cut Cmd+Shift+4, followed by spacebar. When the cursor changes to a camera icon move it to the window you want to capture and click the mouse button. The screenshot will be saved to your desktop.
Documenting your EverWeb Project
You may have already created some documentation during your project, or you may have made notes along the way or you may have nothing documented at all. Whatever the state of your documentation, the easiest way to begin is by a ‘top down’ approach. It’s the quickest way and helps capture the details you want with the least amount of effort. A ‘top down’ approach starts by capturing the website Project’s highest level – the website structure and global settings, then drills down to the next level – Master Page details and finally the lowest level – the details of the regular web pages you have created.
You may want to add a preface the Project which defines the project’s aim, who it’s for etc. Such detail may be valuable to include if it is for a client. You may also want a page at the end of the documentation detailing anything that needs to be noted but has no real place anywhere else e.g. planned future changes, things to add to the website at a later date that could not be added earlier due to time constraints etc.
For our example, we’re going to use a spreadsheet to document the EverWeb Project file. Spreadsheet tabs are great for the ‘top down’ approach, for example, you could have one tab for ‘Global Settings’, another for the website’s structure, another for each Master Page and then tabs for each regular web page. A spreadsheet is also good tool for adding items to record as you go. Below are some such items that you may want to check off when documenting your project. It’s not an exhaustive list, but should get you the essentials down for you.
Global Settings
Global settings are used throughout your Project file and include publishing details for your website. There are a number of settings worth capturing:
- The version and build number of EverWeb used to create and publish your website Project
- Site Publishing Settings (File-> Edit Publishing Settings). If you have included any code in the Header/Footer sections, highlight it all, then copy and paste it into your documentation spreadsheet so that the complete code is recorded. If you only screenshot the Site Publishing Settings you may not capture the entire code.
- EverWeb-Preferences -> Backup. It’s good to remember the back up location of your project files as well as the frequency and number of backups you want to keep
- Format -> Default Styles is useful for capturing link colors and underlining used for hyperlinks. It’s also useful to capture the default font type, size and color used in your Project.
Your Project’s Website Structure
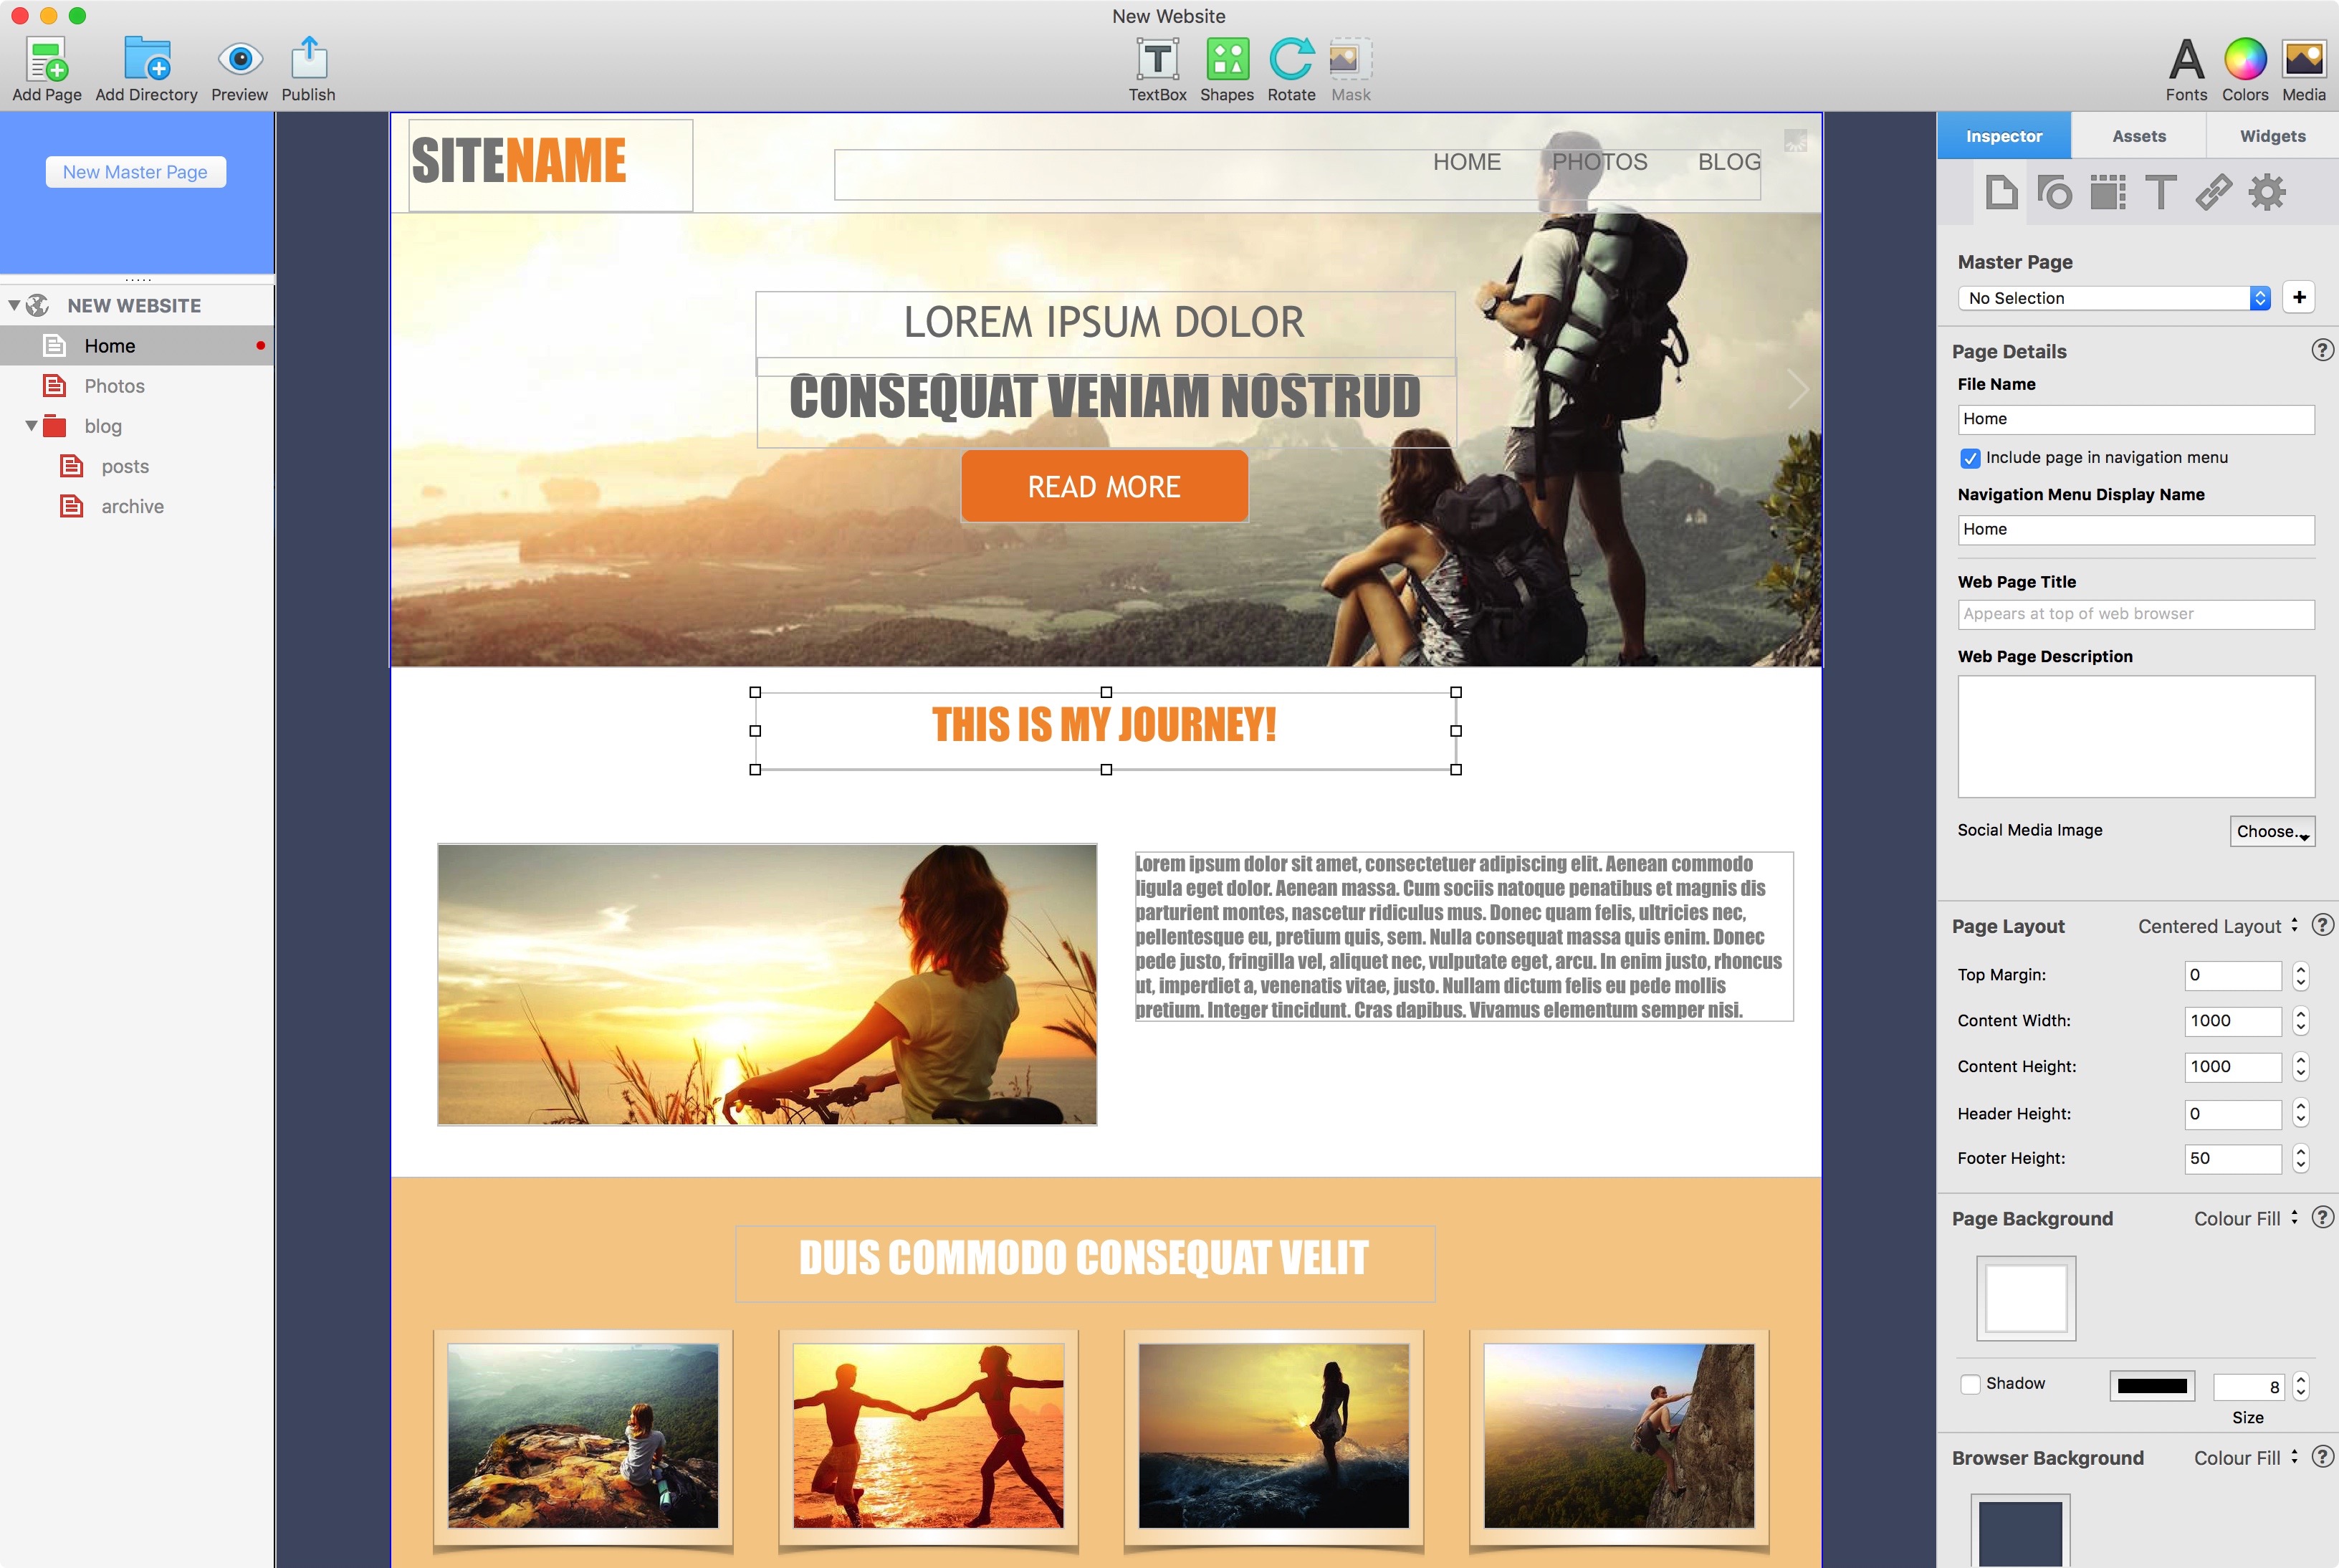
Use the Web Page List (WPL) on the left hand side of the EverWeb Project Window to record your website’s directory structure. If the WPL has directories record their contents as well. To expand a directory click on the triangle to the left of the directory name. If you are screen capturing the WPL you may have to take more than one screen capture to if you have lots of pages in your website.
You may optionally want to include the Navigation Menu Widget in this section of your documentation as the Navigation Menu takes advantage of the website’s structure. The website structure section is a convenient place to record Navigation Menu information such as ‘include page in navigation menu’ and ‘Redirect to first child page’ in one place. Alternatively, you can document the Navigation Menu Widget in it’s appropriate Master Page tab and the other details when recording each page.
Master Pages
As you probably know, Master Pages are template pages that your regular web pages are usually based on. As such, it’s important to document them as they hold most of the information you want regarding the defaults your regular web pages will inherit and you only need to document this information once!
When documenting, include the following information:
- The name of the Master Page
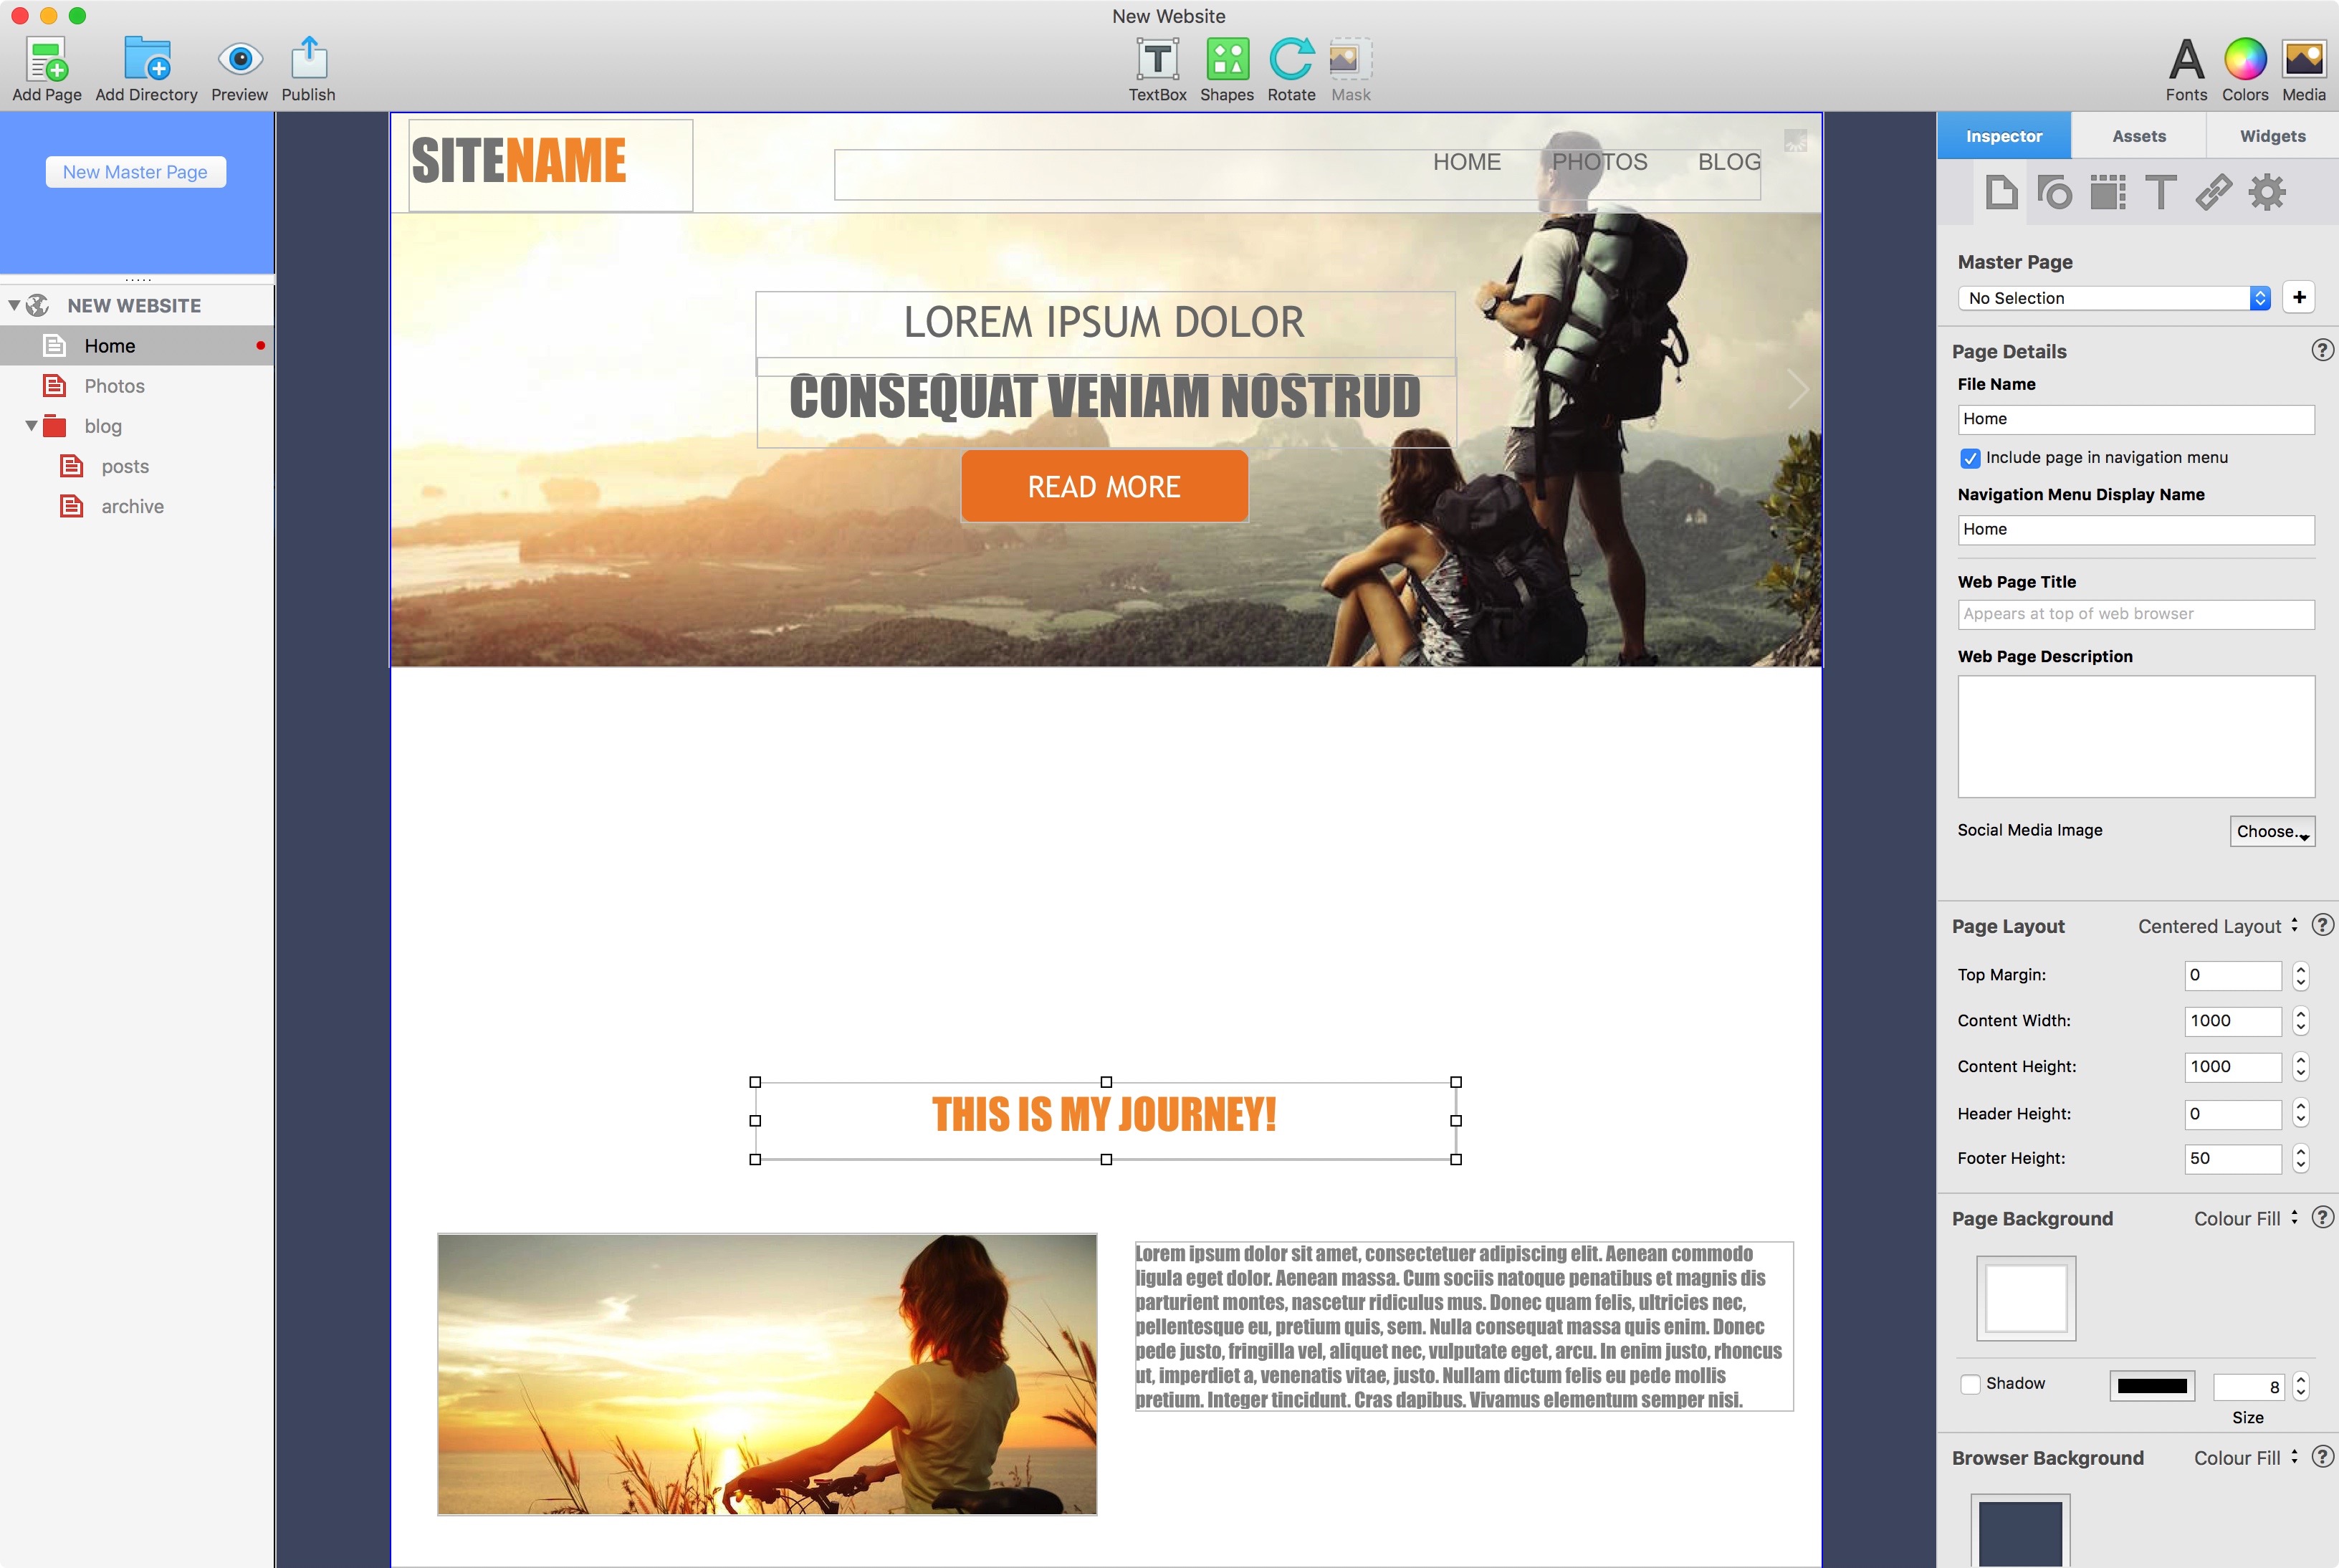
- The layout of the Master Page using screen captures.
- You’ll most likely want to record most of the Page Inspector’s details e.g. the ‘Page Layout’ section which contains page dimensions settings, the Page and/or Browser Background style and so on.
- Note the names and source locations of any image files or media used so you can find them quickly in future if you need to.
- Record the exact colors used on your Master Page. Trying to recreate the original color can be a time consuming if you have to do it. The OS X Color Picker can be used to find a colour’s HEX value. Alternatively, use OS X’s Digital Color Meter. Remember that the HEX value of a color is more accurate than the given name of a color.
- Use the Fonts Panel to record font styles, sizes and weights (e.g. light, regular, bold etc.) It’s also an idea to note down any fonts that are external to your OS X system, such as Google fonts, or any that you may have purchased.
- Check any Inspectors which have dialogs collapsed by default, especially the Page Inspector!
- Any coding you have added in the Master Page needs to be cut and pasted so that it’s completely recorded Using a screen capture may not capture all of your code!
Widgets
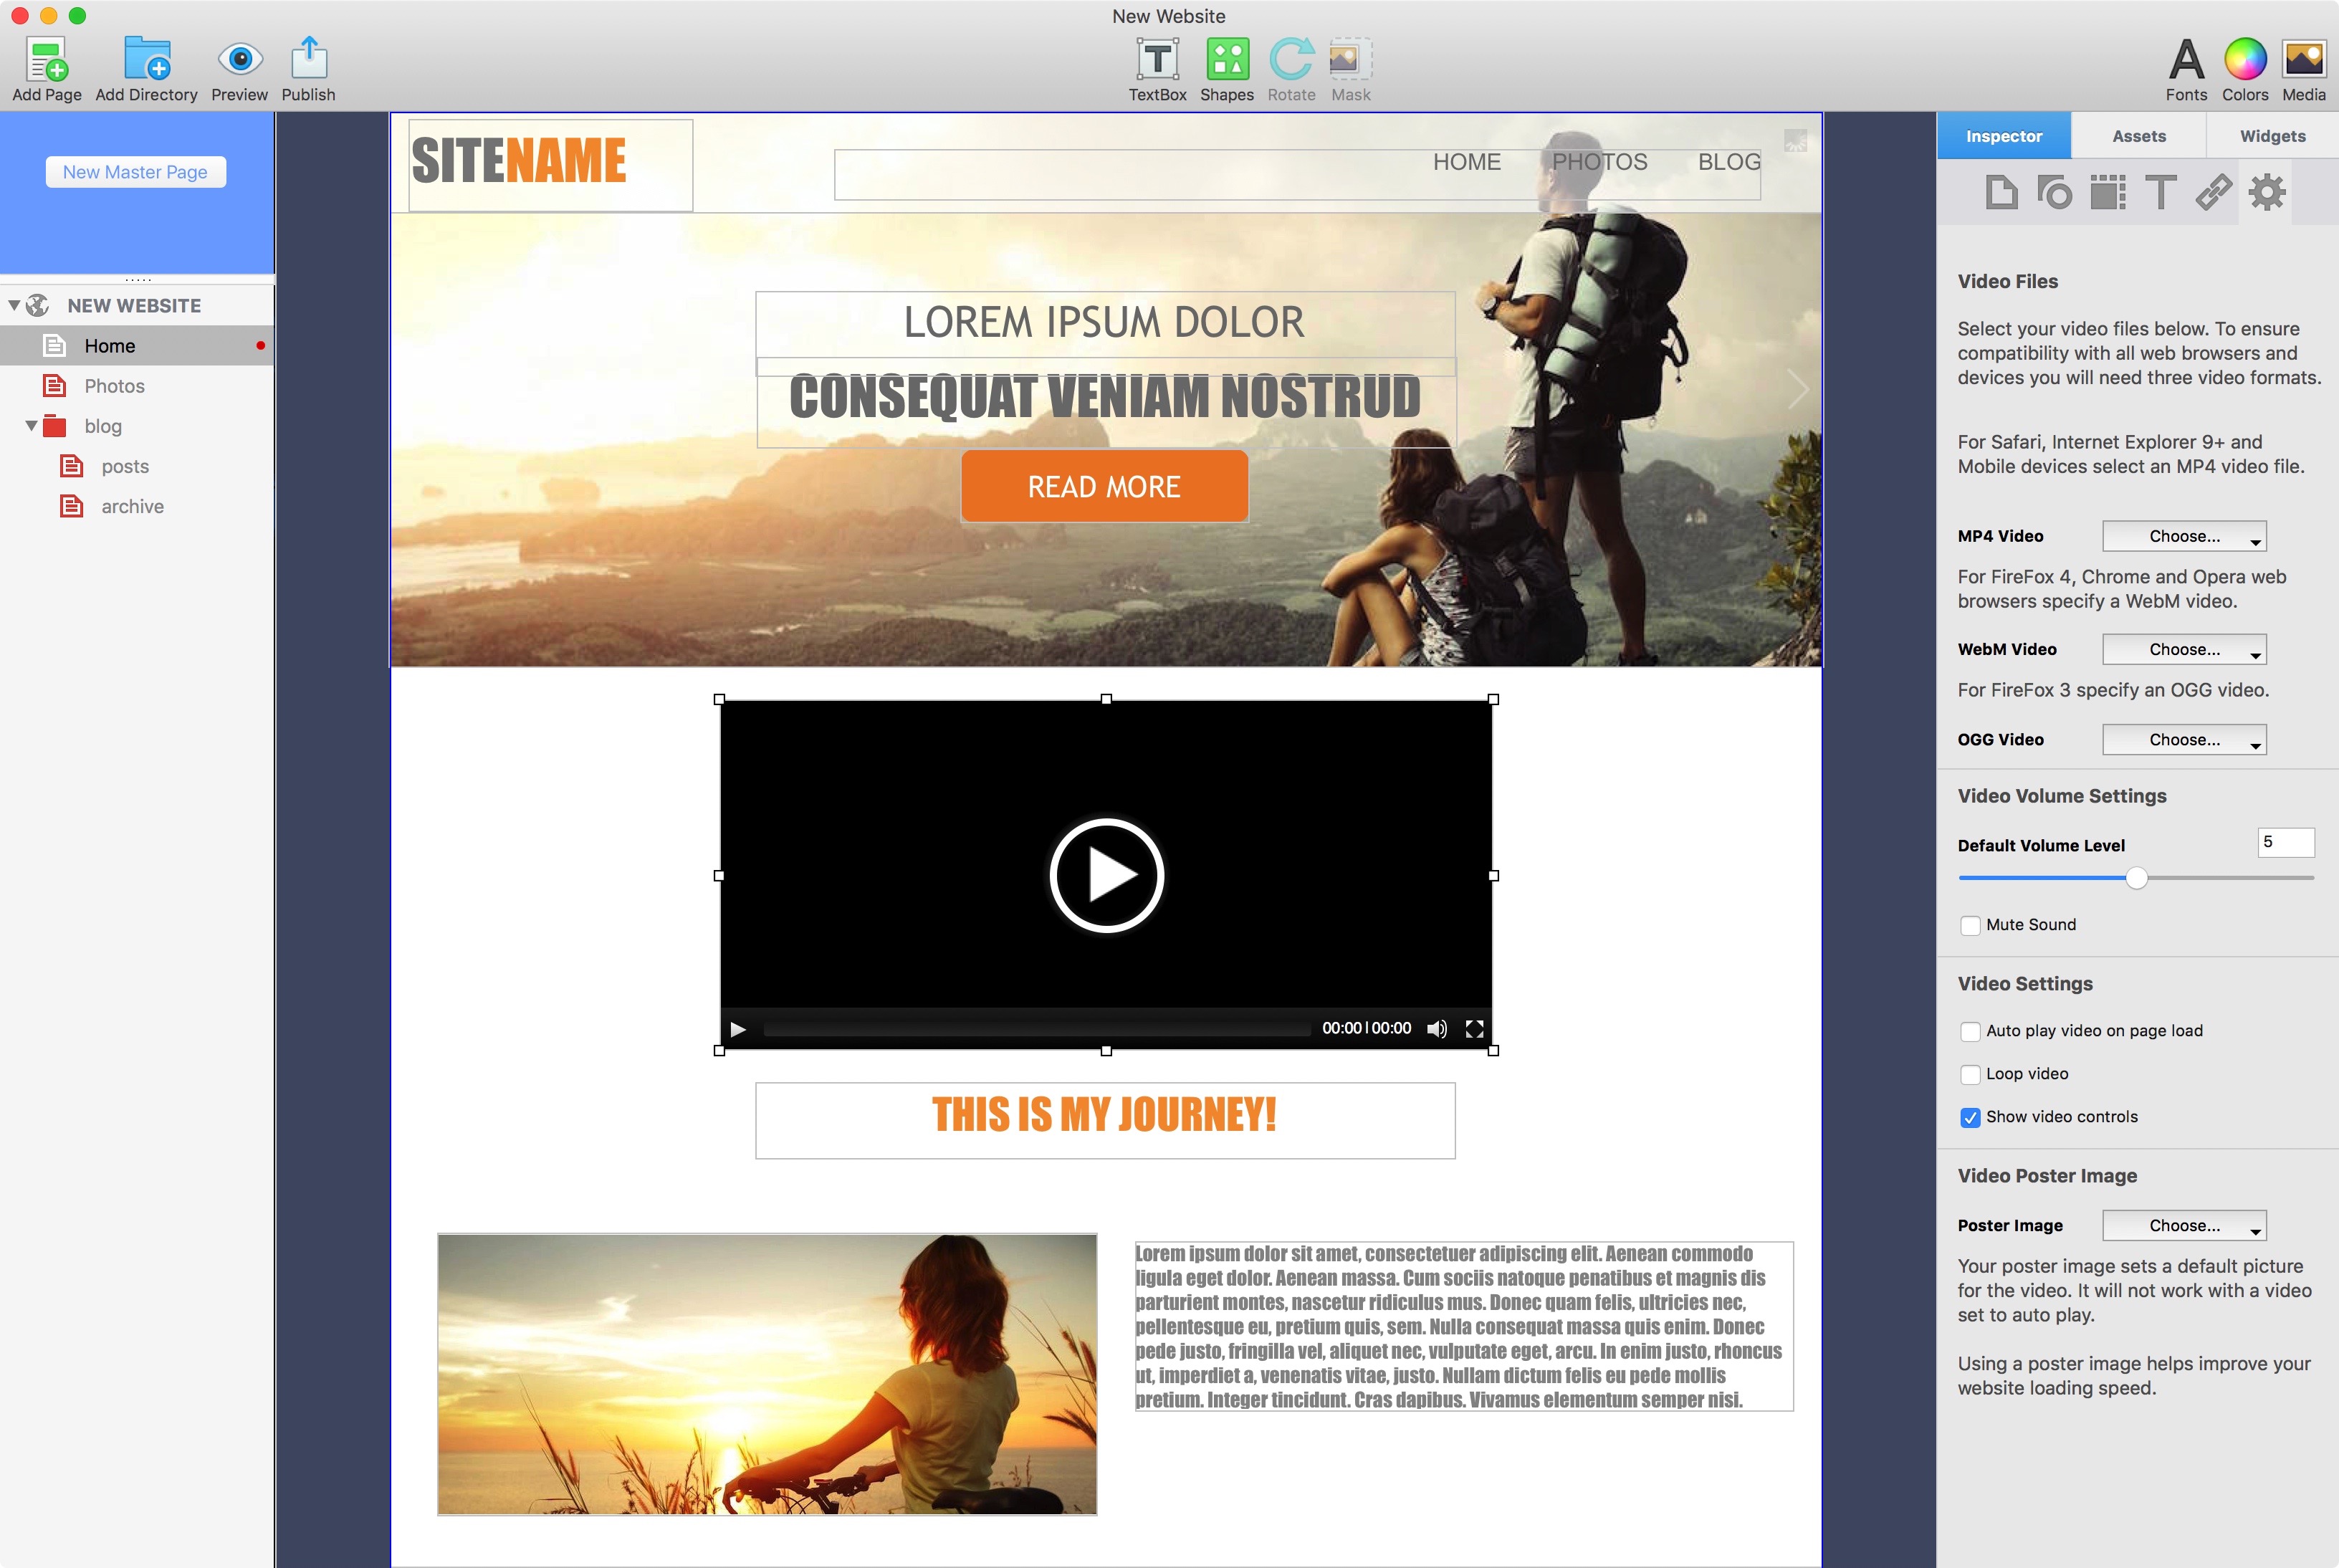
Most Widgets have their own settings and information that you may wish to record. Whilst most Widgets are simple to document, pay particular attention to the Navigation Menu Widget as you may have highly customised it. The PayPal Widget is also one to look out for as it has numerous and complex options. You may also want to record positioning details for such objects using the Metrics Inspector.
Documenting Your Regular Web Pages
After documenting your Master Pages, the documentation for your regular web pages should be relatively simple. Here are some suggestions…
- Document each web page name and the name of the Master Page that it’s attached to.
- Remember to the record any redirection links between mobile and desktop pages in the ‘Mobile Settings’ of the Page Inspector.
- Document page specific items such images and media together with their source location. You may want to add details from the Metrics tab (e.g. ‘Always on Top’ and ‘Fixed Position’) and the Shape Options tab (e.g. ‘Alt Text’) if you have formatted any objects in a particular way.
- Object hyperlinking details, hyperlinking sources and any windowing options are also worth noting.
- Page specific Widgets, including any code snippets should be documented in full, as well as any special tricks you have used to format your page.
Documenting your website is an important, often neglected, part of website development. Whilst having a backup of your website is essential, proper documentation is an investment and may save time and effort if you need to recreate the website in the future, or need to update it at a later date. Documentation help you understand what, and why, you created your website in a certain way in the first place.