Enhancing Your Site With Anchor Links
Monday, June 20th, 2016EverWeb allows you to create anchor links – links that can send visitors on your site from one section on your page to another. Anchor links allow to you guide the visitor to certain sections on the page, making it easier for them to navigate your content. For example, let’s say that your home page has some important content, but that content is located near the bottom of the page. Rather than just hoping the visitor will scroll down to the bottom, you can guide them right to that particular section by using an anchor link.
There are 2 styles of anchor links that you will be able to use on your site. One style is a basic ‘jump’ that will just send the user directly down the page. The other style is a ‘smooth scroll’ which will gently scroll the visitor down the page.
This video tutorial will show you how you can accomplish either of these methods. You will need to refer to some code for one of the smooth scrolling options. There is also a widget that can be purchased to make this process even easier.
VIDEO TRANSCRIPT
In this video tutorial, I am going to show you how you can create anchor links so that you can link from one section of your page to another.
I am going to show you three different ways of accomplishing this, and I encourage you to watch all 3 methods before determining which one will best suit your needs.
The first method will be a simple method which will just jump the user from one part of the page to another.
The second method adds a couple more steps, but will allow you to have a smoother scroll to the other section of your page.
The third method is the easiest, allowing you to setup smooth scroll anchor links, but will require the purchase of a third-party widget. I will provide more information on this later in this tutorial.
So for the first method, I have this page here and I want to setup an anchor that will let the user jump from up here near the top of the page, to a section closer to the bottom.
The first thing I am going to do is create my link that will allow the user to click to go to the bottom of the page. I am just going to create some basic text, and then hyperlink the word or words that I want the user to click on.
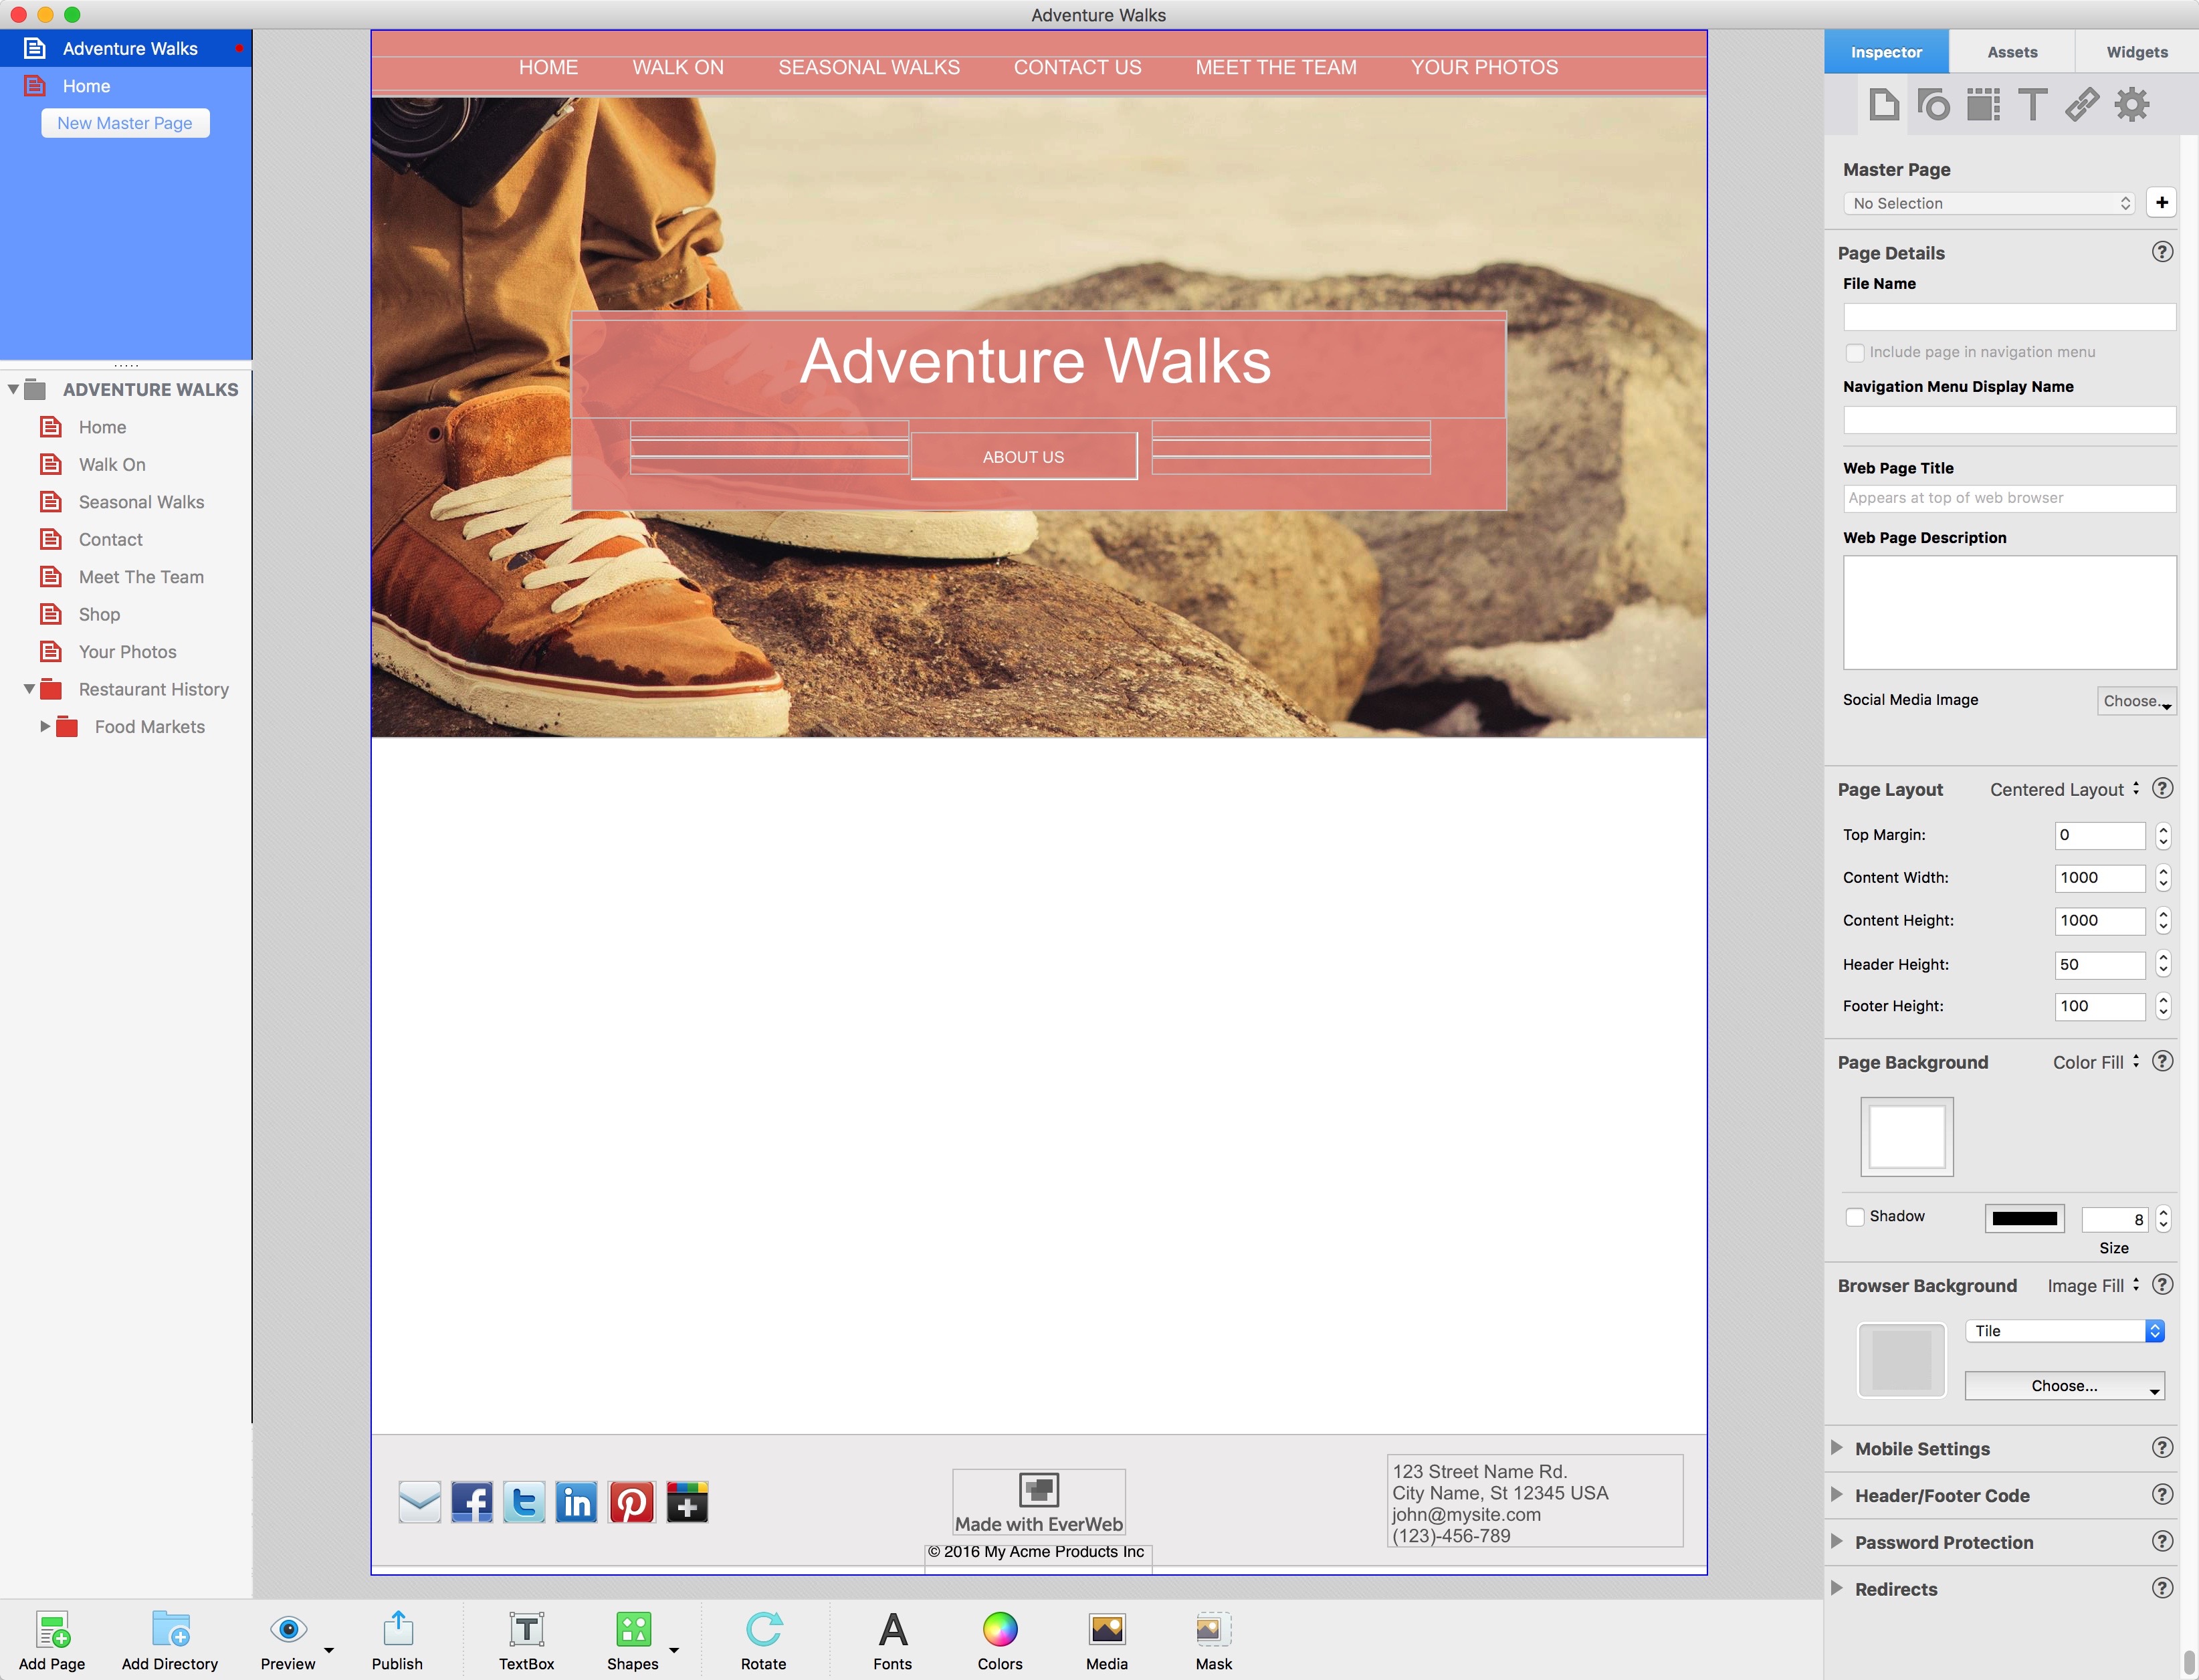
I’m now going to enable this as a Hyperlink by clicking on the Hyperlinks tab in the Inspector window, and checking the box to enable as hyperlink. I will choose to link to an external page. In the URL field, I will type in the pound sign, followed by any text that I want to refer to this as, so in this case I am just going to call it bottom
The next thing I will do is add an HTML snippet to the page. In the Widget Settings box, I am going to type in some simple HTML. The important thing to note here is that I am putting in the same word which is bottom, that I linked to in our previous step.
I also wrote bottom inside the tags, and that does appear on the page here. So what I will do is just find an object that this can hide behind nicely, and I will just hide it by going to Arrange, and then selecting Send to back.
When the site is previewed or published, you will see that I can jump to the bottom when I click on the link.
The next method will provide us with a smooth scrolling anchor. This is going to be done using some code, which you can obtain from everwebcodebox.com, hovering your mouse over the Links menu, and then clicking on Links & Anchors. You can now scroll down to the bottom of the page, or click on the Smooth Scroll link to get there smoothly.
We’re going to highlight the script that is here, and copy it.
Back in EverWeb, this script is going to be pasted into the Footer Code section. If you only plan on having the smooth scrolling anchors on one page of your site, you can actually just paste it into the footer code box for that particular page. But if you plan on having it on multiple pages, or you are not 100% sure yet, pasting the script into the site wide footer code section will be fine.
Next, I’ll head back to everwebcodebox and copy the code next to Hyperlink code.
I am going to add an HTML snippet and then paste this code. The anchor-name can be changed to whatever you want, as well as the text that will appear as the anchor link.
Place this on your page where you want the anchor link to be located.
Now I will head back to everwebcodebox again, and copy the code for the anchor.
Drag and drop another HTML snippet onto the page, and paste the code.
I’m going to replace anchor-name with the same name I gave to the anchor in the previous step, which was bottom.
Now place this where you want the user to end up when they click on the anchor link.
When the site is previewed or published, you will be able to see that you can scroll smoothly.
This next method, which is my preferred method, involves using two widgets that are available for purchase on everwebcodebox.com. If you prefer the smooth scroll over the jump, this method is by far the easiest to accomplish and provides the most flexibility for your text link.
These widgets can be purchased by going to everwebcodebox.com, clicking on the Widgets 1 link and then go to Layout and click on Anchors.
To use these widgets, first drag the A Link widget onto your page. In the Pre Text field, type in whatever you want to appear before the link. Then in the Link Text field, type in the text that you want to appear as the anchor link. Then type whatever you want to appear after the link in the Post Text field. You can also change the font, the size, the text color, the link color, and select if you want the link to be underlined.
Then you can give the hyperlink an ID. I’ll just use the same ID I have been using throughout this tutorial which is bottom, but you can of course use whatever you want.
Place this on your page where you want the anchor link to be located.
Then go back to the Widgets tab and drag and drop the Anchor widget.
In the anchor ID field, type in the anchor ID that we just entered in the previous step.
Now you can place this anchor wherever you want the smooth scroll link to the take the user.
When the site is previewed or published, you will be able to see that you can scroll smoothly.
And those are three different ways you can setup anchor links on your site in EverWeb.