New E-Commerce Features in EverWeb 1.8’s PayPal Widget

August 21st, 2015

E-Commerce is big business with Business to Business, Business to Consumer and Consumer to Consumer transactions growing to over $1.2US trillion in 2013. EverWeb 1.8 comes with new and updated e-commerce features within it’s PayPal Widget so your websites can keep pace with the continued growth in e-commerce and the needs of businesses and consumers alike.

The improvements to the PayPal Widget give you more design flexibility and more product options to choose from. To illustrate the new features, we downloaded and customised the Shop page of EverWeb 1.8’s new Beecroft template to use for a fictitious company selling antique style goods (see screenshot below).

The 'Shop' page including 'Add to Cart' buttons from the PayPal Widget.

The ‘Shop’ page including ‘Add to Cart’ buttons from the PayPal Widget.

Before starting to use the PayPal Widget, it is advisable to have already set up your account with PayPal if you have not done so already.

For our example, we are going to add Product Options and Prices for some of our products such as the antique style ‘Classic Scales’ which comes in different colours, finishes and prices. To set this up, first drag and drop the PayPal Widget on to the page from the Widgets Inspector.

Next, move and size the placeholder box to where you want it. Next, we will work our way down the options in the Widgets Settings Inspector in the Inspector Window to fill out all the e-commerce details needed for the product.

To begin with, you need to enter the email address associated with your PayPal account in the ‘Email Address’ box. This is important as it provides the link to your PayPal account.

Secondly, decide which ‘Button Type’ you want to use. There are three options: ‘Add to Shopping Cart’, ‘Buy Now’ or ‘View Cart’. In our example, ‘Add to Shopping Cart’ was used together with the ‘Use Custom Image Button’ option replacing the default PayPal button style. The option to use your own button image can be found in the ‘Custom Button’ section further down the Widget Settings.

Complete the other fields of the Widget Settings as required. If you have used the PayPal Widget prior to EverWeb version 1.8, you may notice some new options listed. For example, you can now ask if shipping is required using the ‘Shipping Req.’ drop down menu. With this option you can ’Prompt for an address, but do not require one’, ‘Do not prompt for an address’ or ‘Prompt for an address, and require one’.

The Widget Settings includes a new ‘Show quantity field’. If you tick this checkbox, the ‘Quantity Label’ field becomes available for you to customize and the Widget dynamically updates on the page to show the level and a box for your visitors to add in the quantity of product they want.

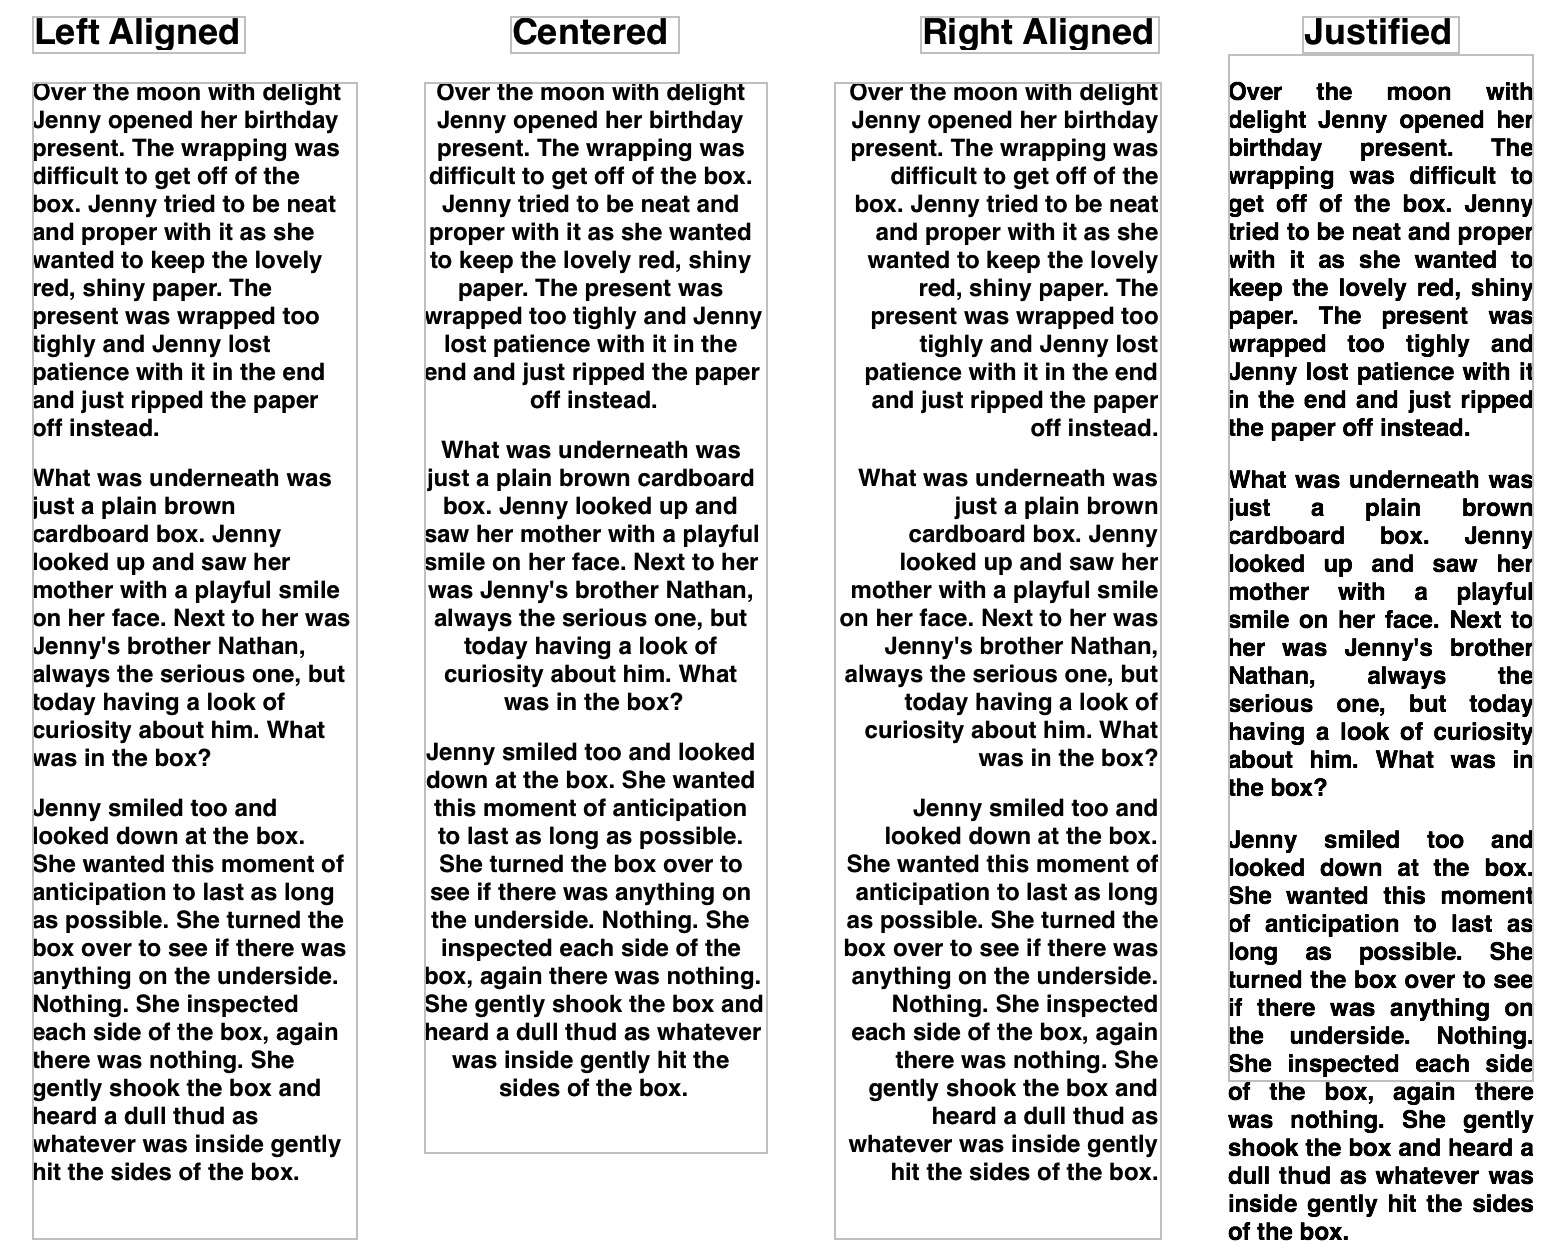
To align the contents of the Widget contents either to the left, centre or right within the placeholder use the ‘Form Alignment’ drop down menu.

The next section of the Widget Settings is where you add the ‘Product Options/Prices’ for the ‘Classic Scales’ product. To start, customize the ‘Option Label’ if desired.

To add in ‘Product Options/Prices’ options click the ‘Add’ button underneath the list box. A new option is created in the list box e.g. ‘New Option 1’. The text will be highlighted so just type over it e.g. ‘Classic Black’ in our example. If you need to edit the label in future, just double click on it and edit in the same way as you would do in a text box.

Click in the field to the right of the label and enter the price. You can also include currency symbols such as $, €, ¥, £ etc. Make sure that if you do, the currency symbol is to the left of the number value. You can also use whole numbers in this field if you do not want to include anything after the decimal point e.g. ‘$79’ instead ‘$79.00’. Some countries use a decimal comma instead of a decimal point so, for example,  enter ‘€79,00’ in the field.

If you need to delete an option from the list box, click on it so that the Product Option/Price is highlighted. Next press the backspace key to delete it. To reorder the list, again highlight the Product Option/Price then drag and drop it to where you want it on the list.

Once you have completed your ‘Product Options/Prices’ list, use Preview to make sure that you have set up everything correctly on your page before publishing.

If you are selling items where you have options such as size, or color, choices that do not need price details included, use the ‘Product Options’ list box instead of the ‘Product Options/Prices’ list box. This list box works in the same way as the ‘Product Options/Prices’ box. For example, the ‘Classic Radio’ listed on our Shop page comes in different colors e.g. ‘Black’ ‘Red’ and ‘Blue’. Enter these as options as required. To change the title of the field label itself  change the ‘Option Label’ above the list box. In our example the label displays as ‘Colors’.

The ‘Product Options/Prices’ and ‘Product Options’ can be used together e.g. the Classic Truck in our example is available in Standard at $59.00, Large at $69.00 or XL size at $89.00 as well as being available in ‘Green’, ‘White’ and ‘Pink’ colors (see screenshots below).

The PayPal Widget features one more new section, ‘Additional Options’, at the bottom of the Widget Settings. This is where you can attach pages that you have created to thank your visitors for their order or to capture information if your visitor cancels an order e.g. through a ‘Contact Form’ on a  ‘Cancelled’ Page. Attach your ‘Thank You’ and ‘Cancelled’ pages as appropriate using the drop down list of pages.

screenshot_53

The Shop Page, showing completed settings in the Widget Settings.

The completed Shopping Page is shown below with the updated PayPal Widget features illustrating the many options and flexibility that are now available to you.

The completed 'Shop' Page showing and example of the option for Standard, Large and XL 'Classic Truck' size.

The completed ‘Shop’ Page showing and example of the Product Option/Pricing for Standard, Large and XL ‘Classic Truck’ sizes.


How To Use EverWeb’s SEO Features

August 21st, 2015

One of the most important features of EverWeb is its Search Engine Optimisation (SEO) capabilities. However, you won’t find ‘SEO’ on any menu or listed in any dialog box. So why is SEO so important for your website and where do you find and effectively use EverWeb’s SEO features?

To answer such questions we need to first explore the nature of SEO. Much has been written about SEO as the ‘Holy Grail’ that every website developer must find. In reality, it boils down to the following things that you should know:

1. SEO is the term used to describe the way in which you make your website as visible as possible to Internet search engines such as Google, Bing, Safari etc.

2. SEO is important. With over 1 billion websites out there, SEO is the best way to get your website as high up in search engine results as possible.

3. SEO uses ‘Keywords’ to help search engines find your website pages through specific pieces of software called ‘Spiders’ .

4. Using the right type of Keywords is important so that search engines find your website more easily. If you use generic words for your Keywords e.g. ‘computer’, your website will never be found. The Keyword in this example is too general. A quick Google search finds 2,250,000,000 results!

5. SEO does not guarantee anything. However, it can be a great help in improving your website’s visibility if used properly.

6. SEO should be used on any pages that you want to draw attention to. Again focus on what is unique to your website. ‘About’ and ‘Contact’ pages will be too generic to be of much use for SEO.

7. SEO should be used on both your ‘mobile’ and ‘desktop’ web pages. Mobile is a priority for Google and it should be for you too!

8. There is no magic to SEO, you just need to know how it works so that you can get the best possible search result listing.


EverWeb and SEO

The use of good Keywords is, therefore, important in optimising your website for search engines. The question is, where do I put my keywords and what words should I use? let’s start with the Where…

The first thing to note is that you may want to use SEO on different pages of your website as different pages have different purposes. You will want your Keywords to be tailored to what the purpose of the page is.

In EverWeb you can enter Keywords in to the following fields in the Page Inspector (see screenshot below):

1. File Name: You can use the file name of your page to act as a Keyword.

2. Navigation Menu Display Name: This field is good to use for SEO as it provides links to other pages. This is something that search engines look for

3. Web Page Title: This is the text that you see at the top of the browser window. It’s great if you can add in some Keywords in to the Title, but remember that you should not sacrifice your visitor’s experience just for the sake of SEO.

4. Web Page Description: The page description is not a field used in SEO but you can use keywords in the description. Again remember your visitor experience when writing your description.

Inspector SEO

You should also use SEO with any Image files you are using. Search engines look at image file names as well as text Keywords. Therefore, it’s important that your image files have an appropriately descriptive name. If not then rename the image files before importing them into EverWeb. If you have already imported your image files in to EverWeb, rename them via the Assets tab.

In addition to using descriptive file names for your images, your SEO may be helped by adding Alt Text to your image files in EverWeb. Use the ‘Alt Text’ field in the Shape Options tab to add in a sort description of your image (see screenshot below).

Shape Options SEO


Which Keywords Should You Use?

This is where you need to have a Keyword strategy and do your research before using adding in Keywords. As discussed above, if you used ‘computer’ as a keyword you would have no chance of standing out from the crowd. Instead think of Keywords that are specific and focused on what your clients are going to be looking for. As an example, if you are a company selling shoes, think about any specialist type, or brands, of shoe that you sell, for instance, clogs. The word ‘clog’ is a more specific and better Keyword than using the word ‘shoe’. The more specific and focused your Keywords, so much the better!

Use just a few Keywords in the fields mentioned above. Remember that having too many Keywords may lessen the focus of your SEO, and may also undermine your visitor experience. Having a website just littered with Keywords without meaningful text is not very appealing.

The good news is that help is available for finding the Keywords that are best for you to use. Google provides the ‘Google Keyword Planner’ just for this very purpose as part of Google Analytics. See https://adwords.google.com/KeywordPlanner for more information.

In answering the original question posed at the start, SEO is baked in to EverWeb in many different places. It underpins EverWeb, so be sure to remember to fill in the appropriate fields with a few well chosen Keywords when you are building your web pages. Having an appropriate, sensible SEO strategy that balances visitor experience against your search engine ranking will help you get more hits on your web site, and hopefully more online business!


What Next?

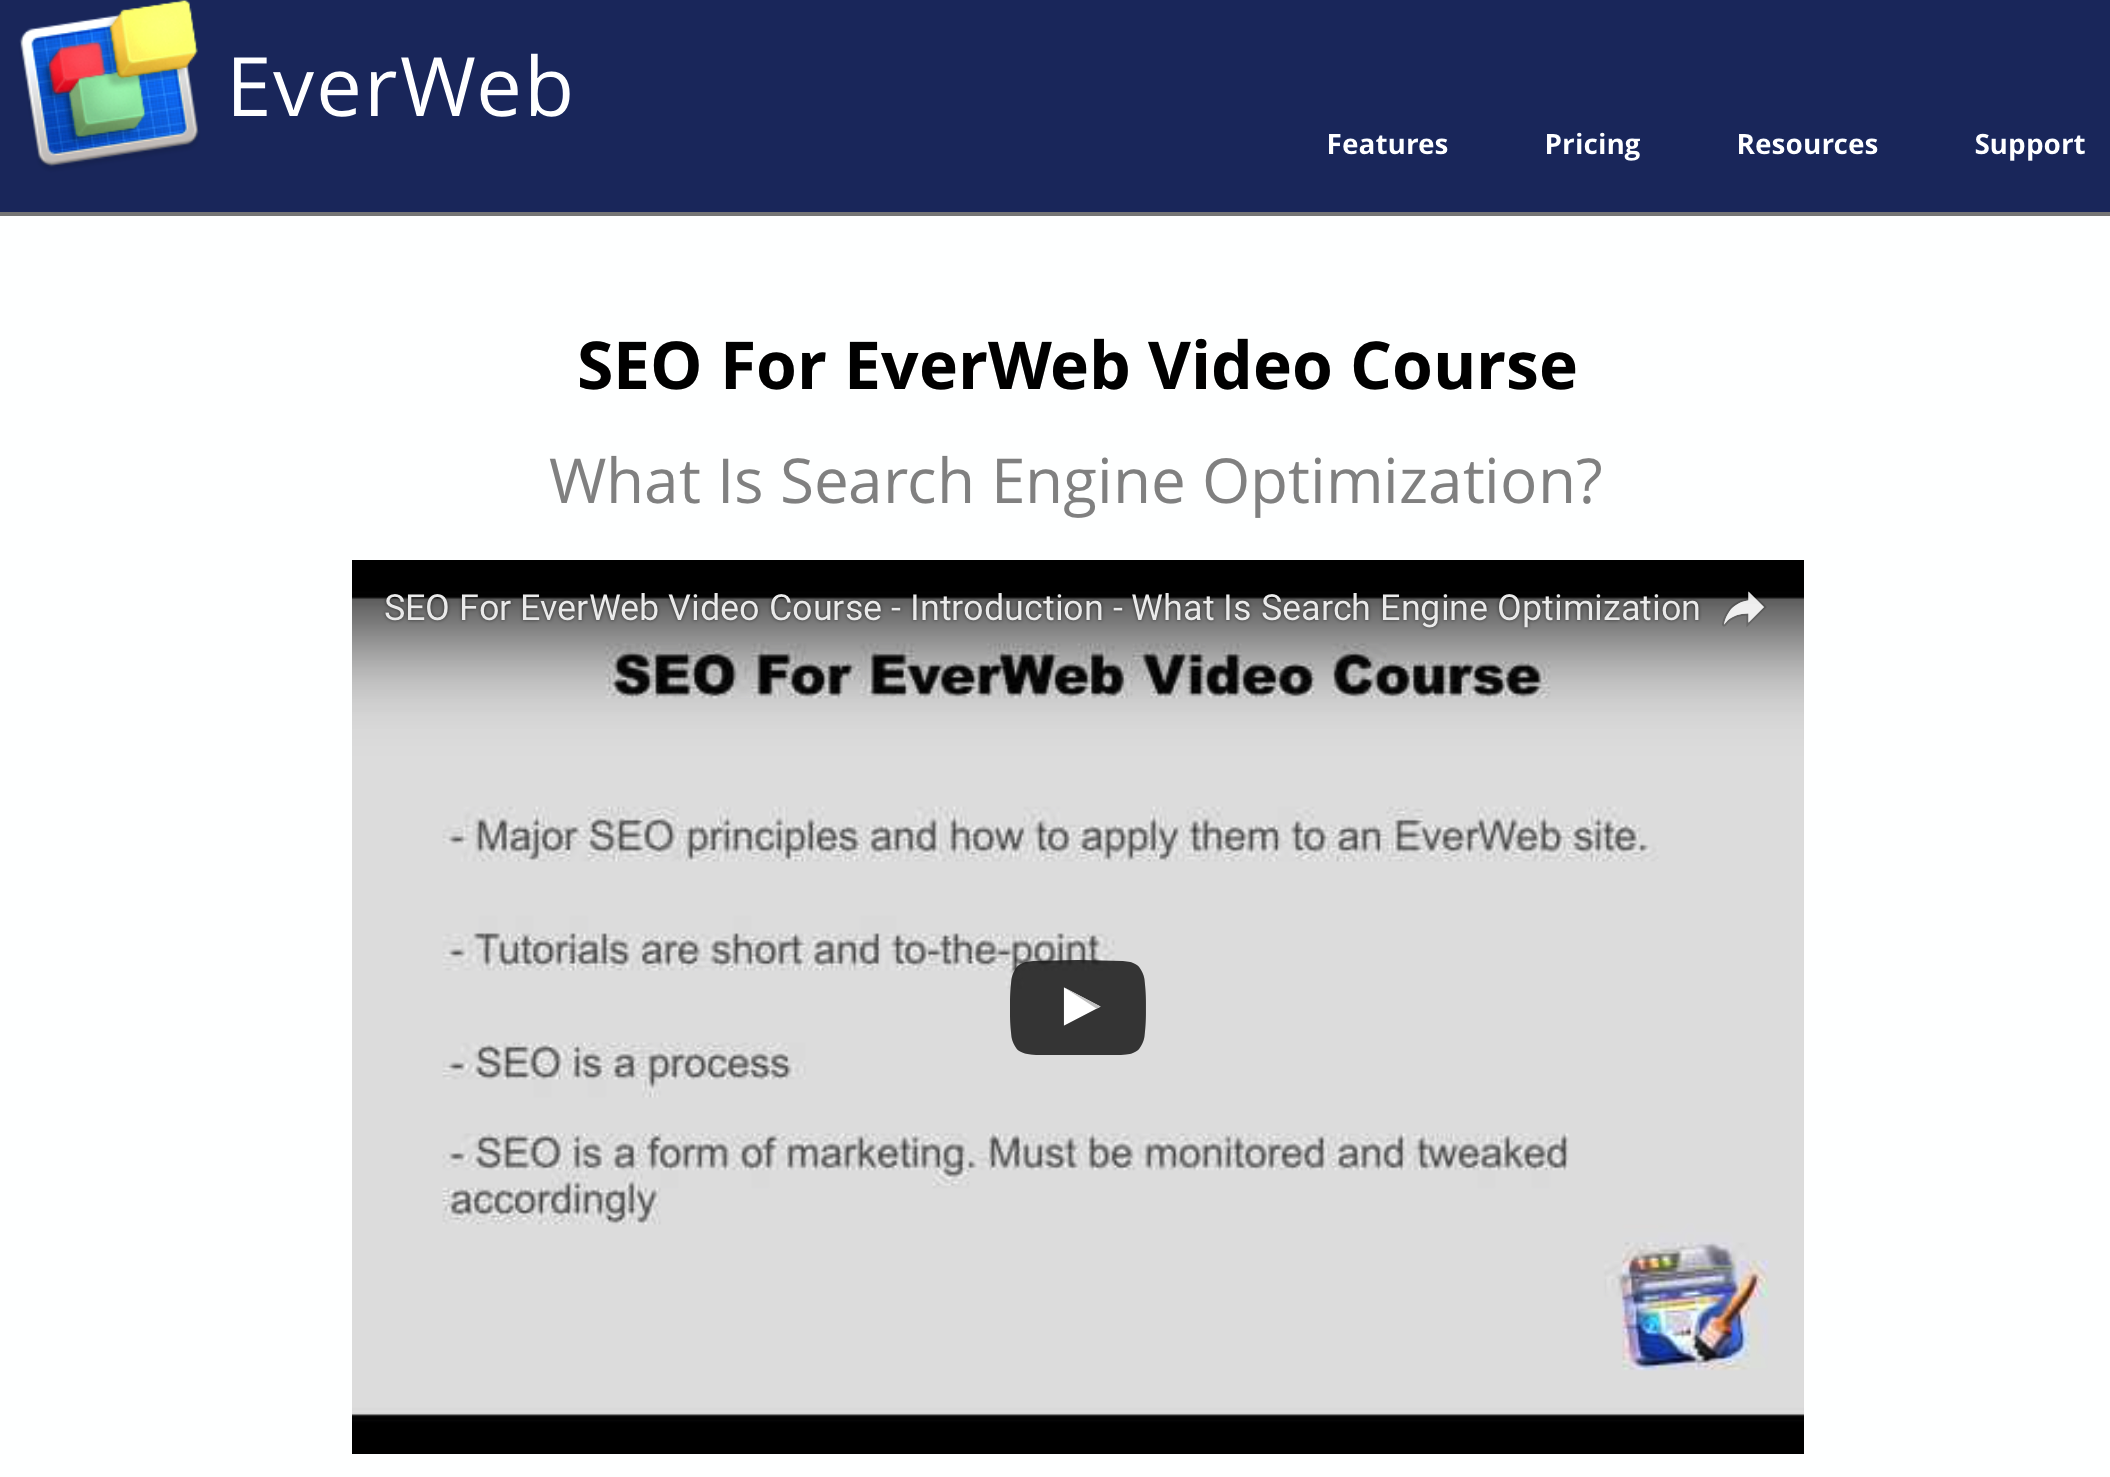
We have only been able to give you an overview of SEO in this Blog. There is much more to discover so why not begin by exploring the ‘SEO for EverWeb Video Course’.

Asset Management in EverWeb 1.8

August 13th, 2015

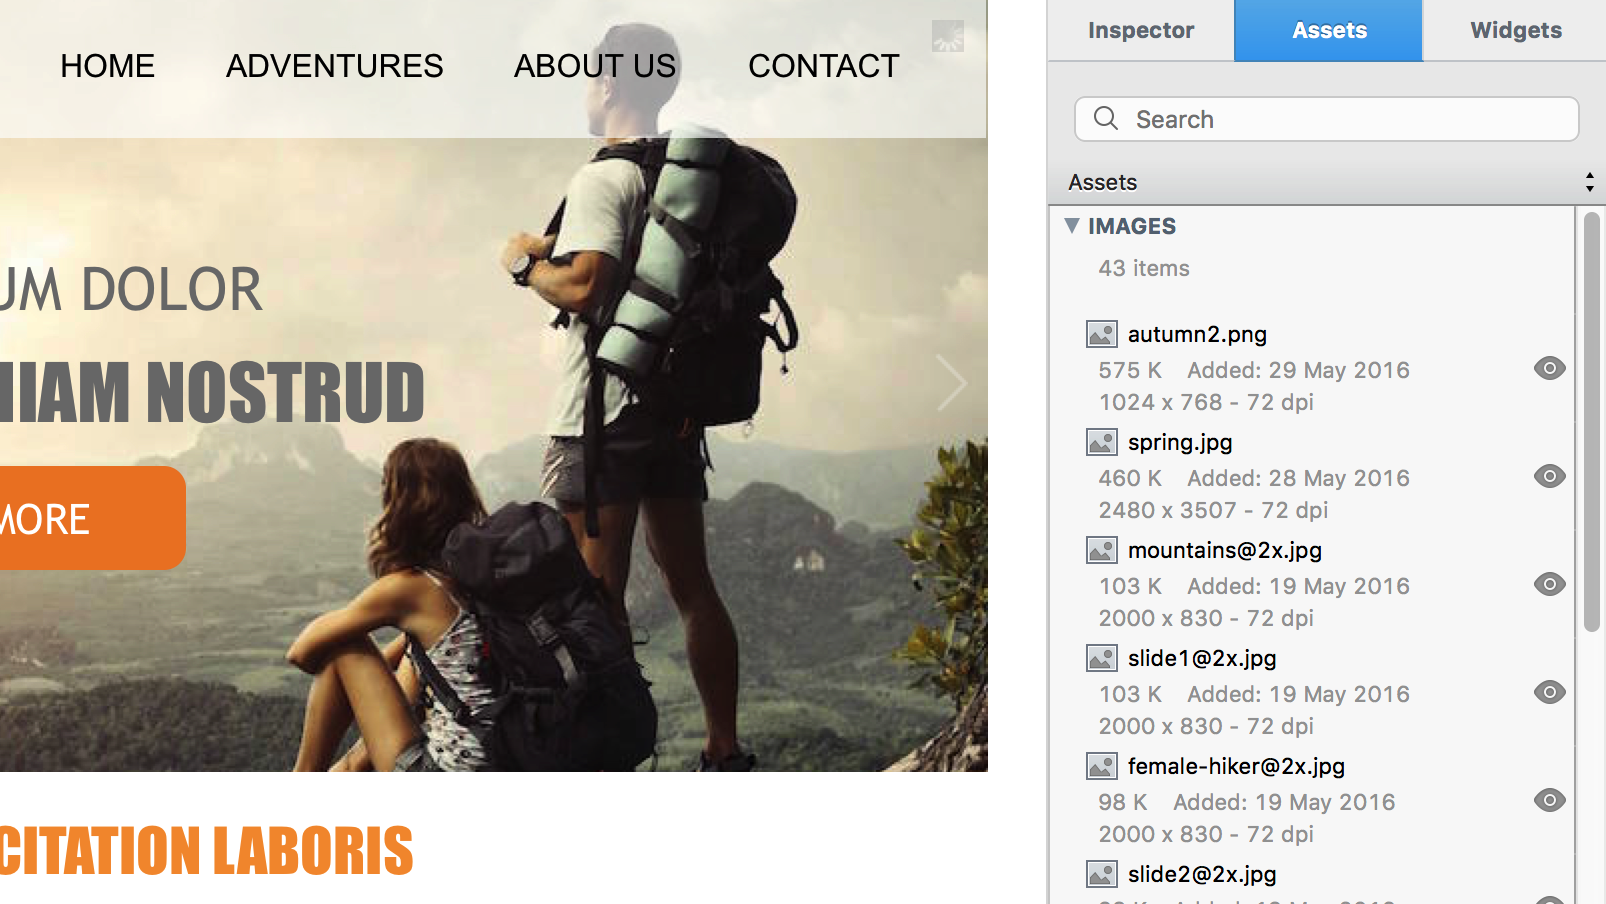
EverWeb manages the files you use in your website Project through the Assets tab in the Inspector Window. Image files are listed in the ‘Images’ section whilst other file types, such as audio and video, are listed in the ‘External Files’ section of the Assets List. Files are automatically added to the Assets List when you drag and drop them on to your web page from any source outside of EverWeb. Alternatively, files can be drag and dropped directly on to the Assets List itself. This is useful if you want to add assets for later use  e.g. adding a collection of images to use later when creating a slideshow for a web page.

Files in the Asset List are only those that have been used in the Project you are working on. You can rename any file in the Assets List by double clicking on the name, editing it, then pressing the enter key. Whist you can change the name of the file in EverWeb, t’s important to remember that EverWeb makes a copy of the file when you import it. Therefore, if you need to keep the original file and the copied file in sync with each other, rename the file before you bring it in to EverWeb. To delete a file from the Assets List, just highlight it and press backspace. This will only delete the file in the Project, it will not delete the original source file.

An asset can be used on more page in your Project. Just drag and drop the asset from the Assets List to your pages as required. Using this method saves you having to import the asset multiple times, and saves you from having multiple copies of the same file in your Assets List.

Over time, you may find that your Project file has a large number of assets that you want to have organised. You may also want to quickly find and delete assets that have been unnecessarily duplicated or are no longer used in your Project. This can happen when you add an asset, such as an image, to a page, then remove it later. Although the image is removed from the web page, the associated file is not removed from the Assets List. This is so that the asset remains available for use within the Project without the need to reimport it, or where the asset is already in use on another page in your project.

Furthermore, if you have any slow loading web pages you may want to troubleshoot the assets used on that page in case you have accidentally included a large sized asset file that is causing the problem.

EverWeb version 1.8 provides you with new and enhanced tools to help you manage these types of situation. We start by searching for particular assets you may want to find.

Click on the ‘Assets’ tab to see all the assets included in your Project. You can immediately search for an asset by typing its name in the search box. Alternatively, click on any asset in the list so that it is highlighted and start typing the name you are searching for. EverWeb uses a ‘predictive search’ so that as you continue typing, the list of search candidates narrows down based on your input.

Searching for assets can also be achieved by sorting the Assets List in a number of different ways. The sort options are located on the drop down menu that is accessed by clicking on the up/down arrows on the right hand side of the dialog box.

The first option, ‘Custom Sort Order’, displays assets based on how you have constructed your Asset List. One of the features of the Assets List is that you can list assets as you like just by dragging and dropping them to where you want them in the list. Use ‘Custom Sort Order’ to restore your self made ordering if you have been previously using other sort options.

‘Sort By Name’ sorts assets in descending order (0-9 then a-z), ‘Sort By File Size’ and ‘Sort By Date Added’ also list your asset files in descending order with the largest file size, or most recent date added, listed at the top of the sorted list respectively.

In addition to sorting assets in the order you want, the ‘Show File Info’, when ticked, displays file size, date added, image dimensions (width by height in pixels) and resolution in dots per inch (dpi) information. Using ‘Show File Info’ in conjunction with ‘Sort By File Size’ can quickly and easily help troubleshoot where large files may be slowing page load times.

The last option on the drop down menu is ‘Find Unused Assets’. As you develop and maintain your website, you add images, and/or other file types, to your pages then delete them later as your needs and requirements change. As mentioned earlier, deleting such objects from the web page does not remove them from the Asset List. Use the ‘Find Unused Assets’ option to search for, and highlight, assets that are not being used in your Project. Once the search is complete, EverWeb asks if you want to delete the non-used assets. If you select ‘Yes’ the unused assets are removed. This action cannot be undone unless you restore a backup that you took immediately before removing the unused assets.

If you select ‘No’, the unused assets remain highlighted in the Assets List. You can now review the unused assets to see what you want to delete and what you want to keep. Use Cmd+Click to deselect any highlighted file you want to keep. Once you have finished your review, press backspace to delete the remaining highlighted unused assets.

Removing unused assets from the Assets List helps reduce your Project file size. It also has the benefit of helping you reduce organisational clutter so that finding the assets you do want to use is easier.

There may be times when you want to know on which pages a particular asset can be found. To locate all pages that use one particular asset, click on the asset in the Assets List so that it is highlighted. If you just hover the mouse cursor over the asset then secondary click, you will only see an option to ‘Delete’ the asset.

Next perform a secondary click (or right click if using a mouse). You will see a list of available options. The first option, ‘Copy File Path’ copies the physical path location of the asset file to the clipboard. The second option, ‘Copy Relative File Path’ is used to copy the relative file path of the asset to the clipboard. Both these options are useful to developers coding in languages such as HTML with EverWeb.

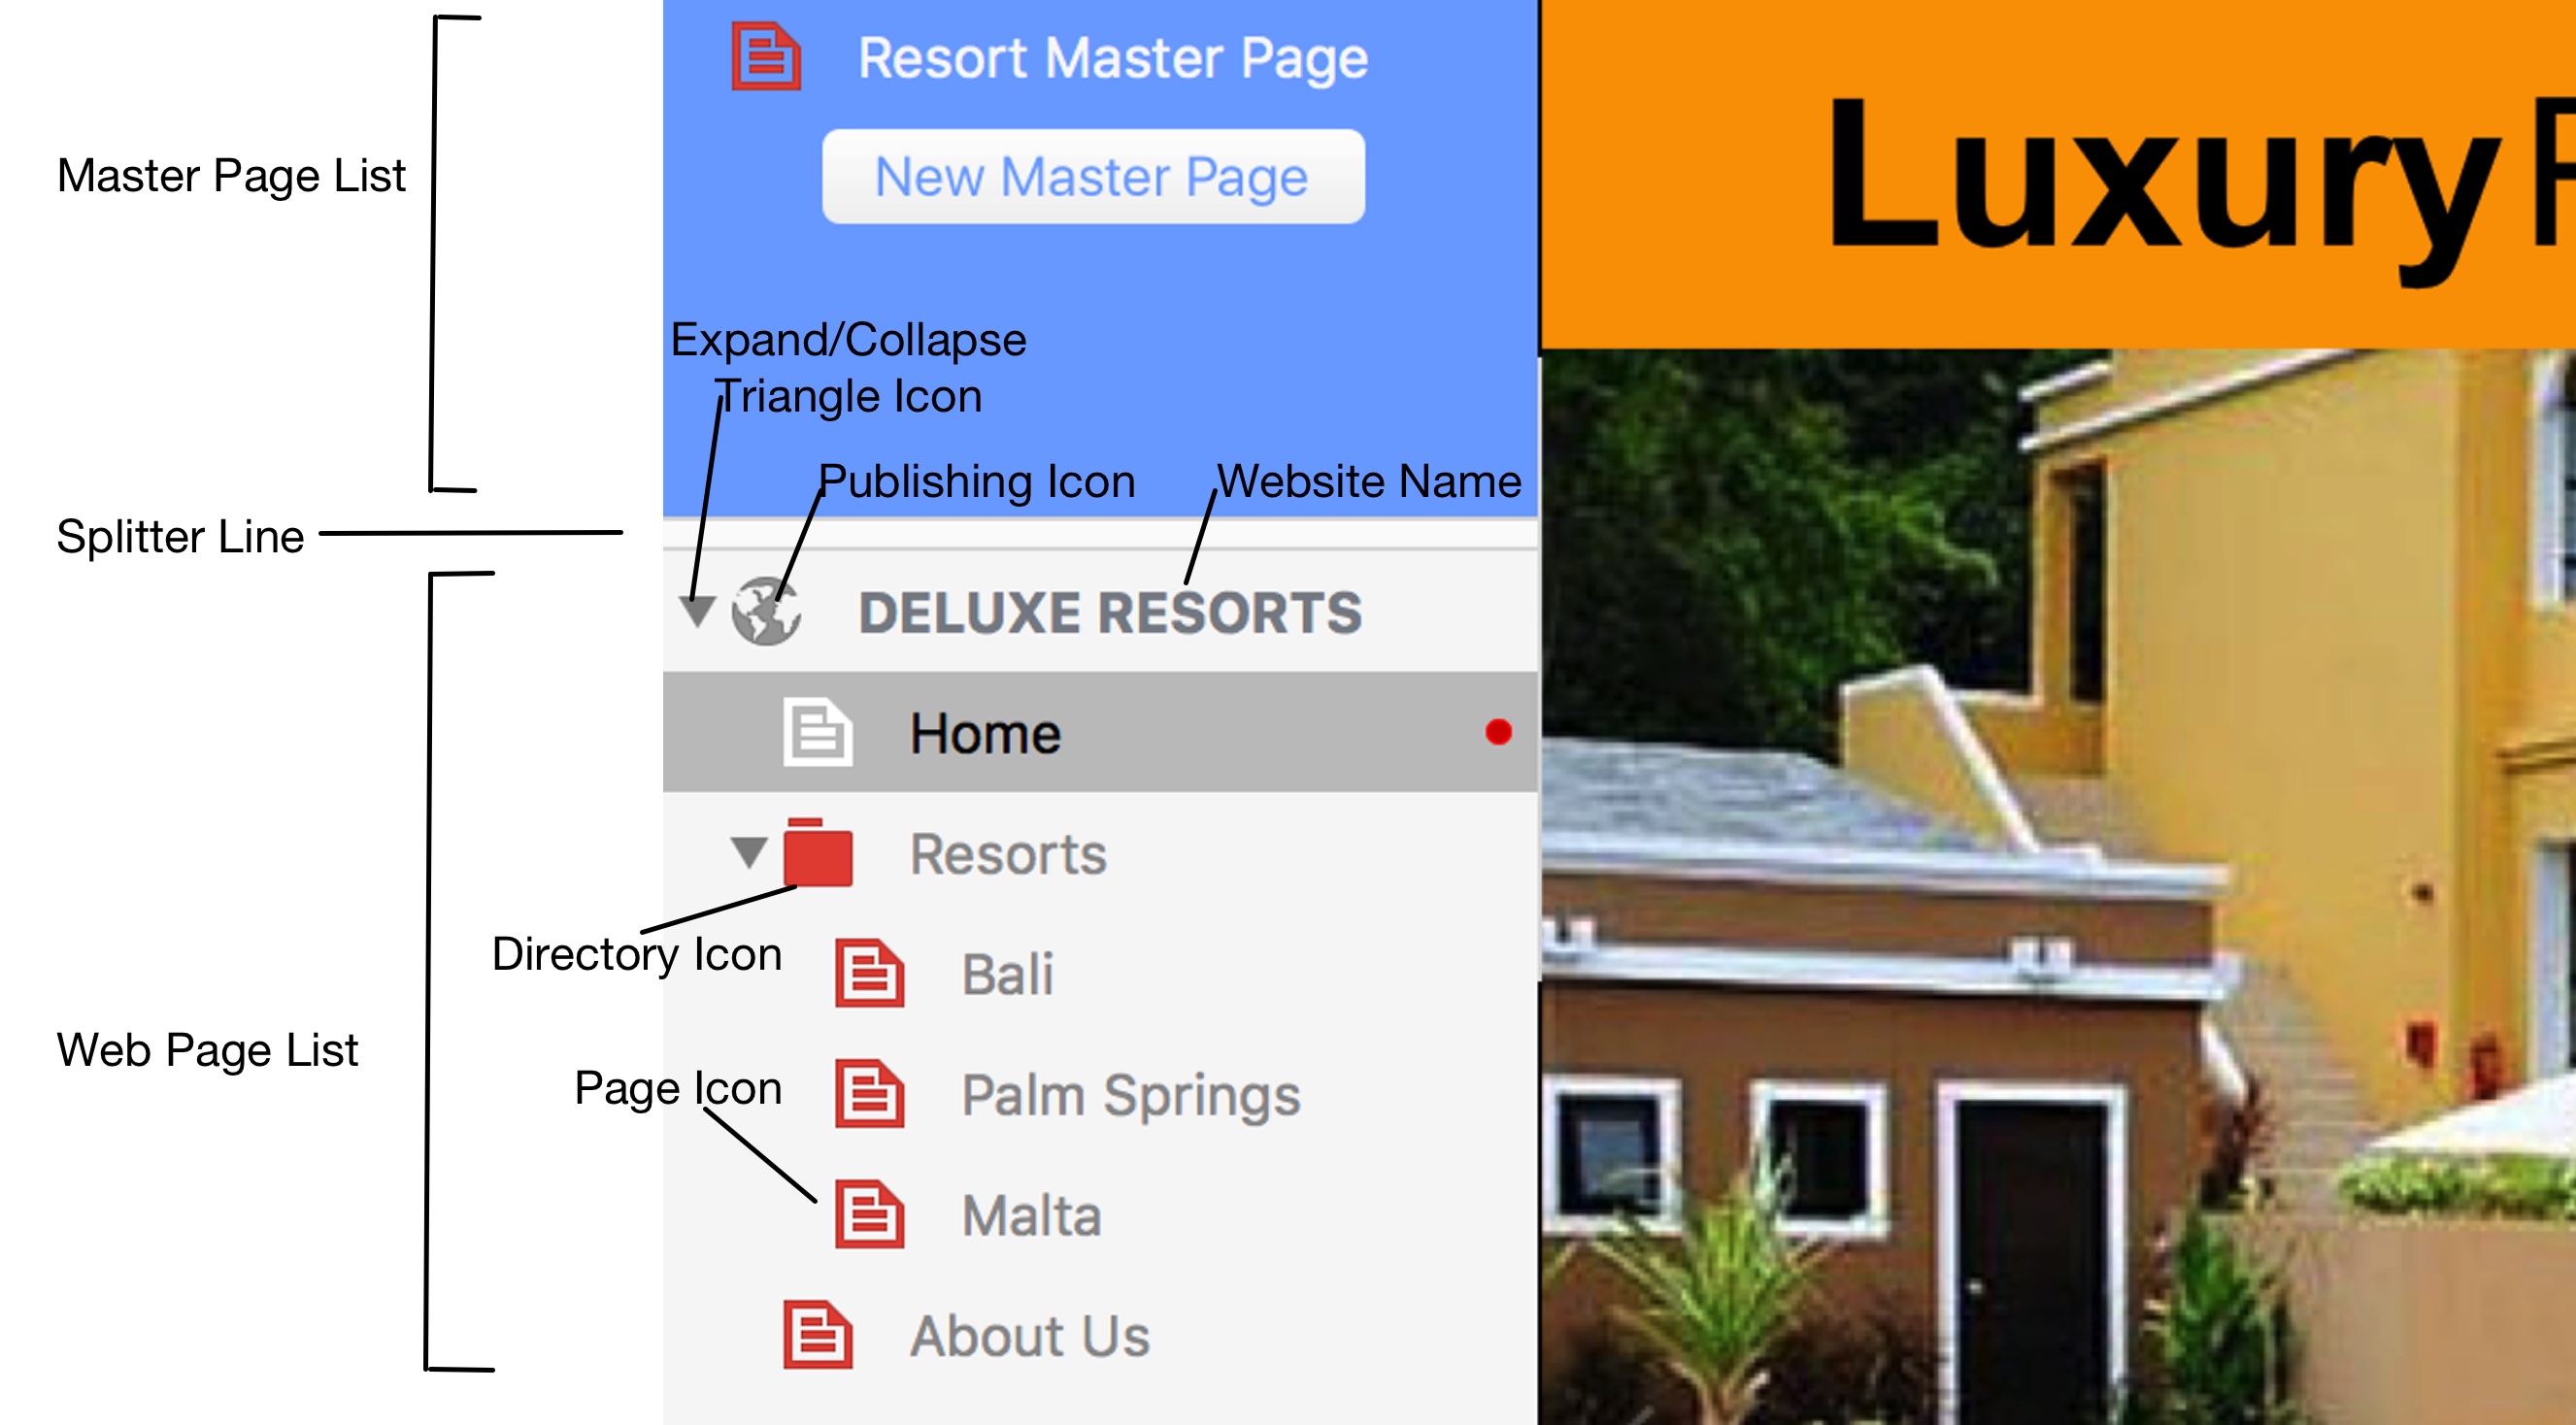
The third option is ‘Find Pages Using Asset’. When you select this option, EverWeb searches your Project based on the asset you highlighted. When EverWeb finds pages that contain the searched for asset, they are highlighted in yellow in the Web Page List on the left of the EverWeb Interface. Master Pages and/or regular pages may be highlighted. To remove the highlight, secondary click on the highlighted web page name and select “Remove ‘Unused Assets’ Indicator”. You need to do this separately for normal web pages and for Master Pages.

The ‘Find Pages Using Asset’ feature is great for finding instances where you may have duplicated the use of an asset. In the screenshot below, you can see that the asset selected appears in both Master Pages and regular pages. Inspecting the regular pages may reveal in this case that the asset has been unnecessarily duplicated and so can be removed, helping to improve the page load time when published.

screenshot_55

In the above screenshot, the asset ‘black.png’ has been searched for using ‘Find Pages Using Asset’. The highlighted pages in yellow show that the file is in use on both master pages and normal pages, so may be duplicated.

EverWeb also allows you to have a quick look at the image file itself using the Eye symbol to the right of the asset. This feature generates a ‘Quick Look’ view of the asset, which you can then view fully in OS X’s Preview program. Alternatively, to quickly preview an asset start to drag it out of the Assets List and onto the page. You will see a thumbnail appear as you do so. Drag the mouse back on to the asset again to finish this quick preview.

In summary, EverWeb’s Assets features provide quick and easy ways to search for your Project file’s assets, manage and maintain your website project, improve your workflow and have a website that remains lean with fast page loading times.

Update Your Website with EverWeb’s Updated Image Slider

July 30th, 2015

EverWeb’s Image Slider has gained new features in version 1.8 with the addition of slideshow Captions, a Transparency option for your Slideshow background and the ability to add URL links to slides. So, why not give an existing slideshow an update or create a new slideshow from scratch incorporating some of these new features?

If you want to start a new slideshow, just drag and drop the ‘Image Slider’ widget from the ‘Widgets Inspector’ on to your page. Place and size the Image Slider placeholder as desired.

With the placeholder still selected, go to the ‘Widget Settings’ in the ‘Inspector Window’. Here is where you add, arrange and delete slide images. Drag and drop images from anywhere on your computer into the Assets List. To reorder the files in the list just drag and drop the image filename to where you want it. You can use Shift+click to select contiguous files or Cmd+click to select multiple files that are not next to each other in the Assets list.

If you have added an image that you do not want, highlight it’s filename in the Assets List and press the backspace key to remove it. Although the filename disappears, it can be always be added back using the ‘Choose…’ button.

You can also add images using the ‘Choose…’ button. When using ‘Choose…’ you will see a list of the image files  associated with your EverWeb Project. If the image file you want is not listed, click on ‘Choose…’ at the top of the list and navigate to where the image files you want are located. In EverWeb 1.8 you can now select contiguous files by using Shift+click to select contiguous files or Cmd+click to select multiple files that are not next to each other

When selecting Images for your slideshow, make sure that they are optimised for use on the Web. Large image files  slow the loading of your web page and affect the performance of your slideshow. EverWeb detects large files on import and offers you a choice as to whether you want to use the original file or a web optimised version.

screenshot_41

It’s also important to use images of the same size, quality and orientation in your slideshow e.g.  your images should either be all portrait or all landscape and not a mix of both. Images should be also of the same dimension and quality in your slideshow.

In the example below we have created a web page for a fictional company, ‘Fantastic Journees Inc’, with the company name in the top left hand corner of the page. Below the company name is the Image Slider followed by a Navigation Menu with a rectangular colored shape behind it providing a background contrast.

17 SS1

The original Image Slider page created in EverWeb 1.7.

We can start to update the Image Slider by making it ‘Full Width’. Select the Image Slider then go to the Metrics Inspector and click on the ‘Full Width’ button. In addition make the Image Slider ‘Fixed Position’ at the same time. Lastly, select Arrange-> Always On Top from the menu.

Next select the company name and make this also ‘Full Width’, ‘Fixed Position’ and ‘Always On Top’. If the find that the text is right up against the left hand margin of the page, use the Text Inspector to add a margin in using ‘Insert Margin’.

Repeat the above steps for the Navigation Menu and it’s background coloured rectangle. Rearrange any objects that may have moved position on page due to the use of ‘Fixed Position’.

With the basic page layout updated, let’s update the Image Slider. In this example we are going to add a caption to each slide.

To add a caption to a slide, select the image file name in the Assets List. Next enter the text  you want for your caption in the ‘Caption’ box. To change the font size and style, click on the Fonts button and use the Fonts Panel to select the options that you want to use.

If you want to add a URL link, enter it in the ‘URL’ box. If your visitor clicks on the image they will be taken to the page you have linked. When adding links, make sure you use the full descriptor e.g. ‘http://www.fantasticjournees.com/homepage.html. Remember to test the link using ‘Preview’ before going live with your changes.

Note that if you enter a link in the ‘URL’ box, it will override ‘Click to enlarge image’ if you have ticked it in the Behaviour section.

If you want to add a background colour to your caption select the ‘Background’ color swatch in the ‘Caption’ section at the bottom of the Widget Settings. Use ‘Background Opacity’ to change the background transparency. If you do not want a background color at all set the value to zero.

You can place the caption where you want within the Image Slider using a combination of ‘Caption Left’ and ‘Caption Top’. These options operate like x and y co-ordinates when placing the caption. When you publish the page, the caption automatically scales and resizes as you change the size of the browser window as seen in the two screenshots below.

18SS1

The Image Slider is full width and resizes as you adjust the browser size, as does the Navigation Menu.


18SS2

As the browser window shrinks you see that the caption automatically resizes. You can also see the results of the use of Fixed Position and always on top here as the items below the Navigation Menu scroll under the menu.

Use ‘Caption Width’ to define the height and width of the caption text and background box color if you have one.

When creating captions for all of your slide images, try to make the text about the same length for each slide so that the caption box remains a consistent same size from slide to slide when viewing the slideshow.

In addition to captions, you can now make the slideshow background transparent. This is useful when you use Thumbnails and want the slideshow to blend in with the page background color. See the two screenshots below.

18sst1

The Image Slider with Thumbnails and the original background color.

18SSt2

The Image Slider with Thumbnails and with transparent background selected.

And finally, don’t forget that there are some great Transition effects to play with such as Pulse and Flash. Try experimenting with these as they can really liven up a slideshow especially when used with vibrant background colours that you set using the ‘Background’ color swatch in the Appearance section.

The Image Slider update keeps your website slideshow fresh and up to date a new modern, dynamic look and feel. With a little experimenting of Image Slider’s new, and old, features, you will give your visitors a great slideshow experience!

How to Make Fixed Headers in EverWeb

July 23rd, 2015

EverWeb 1.8 has a host of new features that give you more design flexibility than ever. In the example below, we are going to use a combination of three of these new features – ‘Always on Top’, ‘Fixed Position’ and ‘Full Width’ – to create a fixed header. With a fixed header  your web page contents slide under the the ‘fixed’ header as you scroll up and down the page.

In this example, we will create a Master Page using the Spa template from EverWeb’s template library. The Master Page can then be applied to any web page in your website project.

  1. To start, add a new Master Page. Click on the ‘New Master Page’ button or select File-> New Master Page…’ from the menu. This example uses  the ‘Home’ template of the Spa theme. Once you have created the Master Page, double click on its name and over type it with ‘Spa Master Page’.
  2. In the Page Inspector, set the ’Header Height’ to 160.
  3. As this is a Master Page, remove any objects that are in the body of the page. Your page should look similar to the screenshot below.spa1
  4. To add a Navigation Menu to the header, just drag and drop the Navigation Menu Widget in to the Header section. Place, size and style all the objects that are in the header as desired such as shown below.spa2
  5. Select all the objects in the header and then tick the checkbox ‘Fixed Position’ in the Metrics Inspector This will keep the objects in place when you scroll up and down the web page.
  6. Use the Shapes button in the Toolbar to add a rectangle to the page. In the Metrics Inspector tick the checkboxes ‘Full Width’ and ‘Fixed Position’. The rectangle will be stretched across the full width of the screen.
  7. Move the rectangle to the top of the the page and set the height of the rectangle so that it is meets the bottom border of the header as shown below. Remember that you may need to hold the Cmd key down to move the rectangle from the body of the page into the header.spa3
  8. As the rectangle now obscures the other objects in the header (as in the above screenshot) select Arrange-> Send to Back from the menu to place it behind all of the header objects.
  9. With the rectangle now in place change it’s color as desired using the Fill section of the Shapes Options.
  10. To complete the Master Page, select all of the objects in the header. Select Arrange->  Always on Top from the menu.The reason for using ‘Always on Top’ is that Master Page objects normally lie underneath the contents of web pages. In our example, however, we need the Master Page header objects to be on top so that web page contents can slide beneath them. ‘Always on Top’ is how we can force objects to be on top of everything else in order to achieve the effect we want.
  11. Once your Master Page is complete, create a web page and attach the Master Template ‘Spa Master Page’ using the ‘Master Template’ dialog box in the Page Inspector. Add the content that you want to include in the body of the page. As you scroll up and down the body contents, the contents will slide under the header.
  12. When you have completed your page, use Preview to see how the page looks before you commit to publishing it on the Internet. You can see the results of scrolling in the screenshots below.
    The initial view of the page...

    The initial view of the page…


spa5aa

… and the effect when scrolling down the page.


Easily Create ‘Sticky’ Buttons in EverWeb

July 16th, 2015

Many websites today have social media buttons pinned to the side of the page so that they are always clickable as you scroll up and down the screen.

This is a great feature for your website and is easy to do with EverWeb 1.8. To achieve the effect need to use the new ‘Fixed Position’ feature in the Metrics Inspector. ‘Fixed Position’ lets you lock the position of an object on its x-axis. This means that as you scroll up and down your page (i.e. along the y-axis), the object remains fixed in place.

Just follow the simple steps below to easily have social media buttons on the vertical and always visible.

  1. First add  the social media buttons that you want to your page, e.g. Facebook, LinkedIn, Pinterest, Email, Google Plus etc. Using the ‘Insert > Button menu to add buttons to your page or use drag and drop your buttons from the Widget Inspector on to your page. When placing buttons line them up vertically close to the left or right hand edge of the page.
  2. When you add each button, make sure that you tick the box ‘Fixed Position’ on the Metrics Inspector. This will lock your button in place on the horizontal x-axis (see screenshot below.)

    screenshot_11

    To fix the social media button in place, first select it, then checkmark the box ‘Fixed Position’ in the Metrics Inspector, as shown in the example above.

  3. Remember to make sure that your Social Media buttons are properly aligned and distributed.
    Select all of the buttons that you have placed on the page. Next use the ’Arrange > Align Objects > Left’ menu so the buttons appear flush to the left, and use ‘Arrange > Distribute Objects > Vertically’ to evenly space the buttons.
  4. If you are adding buttons to a Master Page, you may need to use ‘Always on Top’. Objects on Master Pages lie underneath those on your normal web page. If you find your buttons are not visible use ‘Always on Top’ so that they appear above all other objects on your page.
  5. The last  step is to use Preview to see how your design looks and to test out your ‘Sticky’ buttons before publishing (see screenshots below.) Always remember to test your buttons. Once you have published your website, don’t forget to test each button to make sure that your links work properly!
screenshot_12

Use Preview to see how your ‘Sticky’ buttons work.

screenshot_13

As you scroll up and down your web page, the social media buttons remain in place as the page content slides under the buttons.

How to Stop Referral Spam in Google Analytics

July 10th, 2015

What is Referral Spam?

Referral spam is a technique used by spammers to make it seem like you are getting a lot of visitors from their website which entices you to visit their site. This gets more visits to the spammers website.

Although technically harmless to your website, the biggest issue is that referral spam appears in your analytics software, such as Google Analytics, and misrepresents the data in there. It will appear as if you are getting more traffic than you actually are and your conversion rates will be significantly lower.

You can see if you are getting referral spam by doing the following;


  1. Log into your Google Analytics account
  2. Go to your website Acquisition->All Traffic->Referrals
  3. You can usually identify referral spam because it will come from a domain that either has nothing to do with your website content, or implies it is related to seo, traffic monetization etc… Referral spam is usually 100% new users, 0% conversion and a very high bounce rate
Referral Spam Example List

Referral Spam Example List

Can Referral Spam be Stopped?

There are a couple things you can do to help slow down referral spam. However, because these spammers use many different domains and techniques, it does require some maintenance.

You also cannot remove any previous referral spam from your Google Analytics, you can only make sure that in the future you do not see them.

Also, there are so many different domains that spammers may use. In fact there are thousands of domains that may appear in your Google Analytics.

The technique suggested here requires a list of domains so that Google, or your website, know to either not count the traffic as real traffic, or completely block them from accessing your server.


How to Stop Referral Spam

You can stop referral spam by creating a Google Analytics filter which will make sure that when you check your stats in the future, these spam websites won’t appear in any Google Analytics reports. Unfortunately you won’t be able to remove them from previous reports with this filter. To do that, you’ll have to create a Segment which we’ll have to do another blog post for in the future.

To set up a filter to stop the referral spam, follow the steps;

  1. Log into Google Analytics
  2. Go to your Reports page for your website
  3. Click the Admin tab at the top of your browser
  4. On the next screen select ‘All Filters’All Filters
  5. Then press the ‘New Filter’ button
  6. New Filter Button
  7. On the next screen you will actually set up your filter. Here are the settings to use;
    1. Filter Name: Referral Spam
    2. Filter Type: Custom
    3. Exclude: Selected
    4. Filter Field: Campaign Source
    5. Filter Pattern: A list of domains separated by a | character. Do not include http:// or www. They are only domain names. The list will keep changing as you notice more referral spam from new domains. Here is what I have set up in this screenshot which you can copy and paste into this field;4webmasters.org|trafficmonetize.org|guardlink.org|best-seo-offer.com|howtostopreferralspam.eu|free-social-buttons.com|100dollars-seo.com|webmonetizer.net|erot.co|floating-share-buttons.com
      Google Analytics Referral Spam Filters

      Set up your referral filter as shown


  8. Lastly select all ‘Available Views’ and press the ‘Add’ button to add them to the ‘Selected Views’ list.
    Google Analytics Referral Spam Filters

    Apply all your filters to your views


  9. Now click Save

Starting in 24 hours, your new reports will stop showing the domains you have entered in the above steps.

Blocking the Domains from Accessing your Website

You can actually block the domains from even accessing your website if you have the knowledge to create a .htaccess file. If you use your own web hosting provider you can create a .htaccess file as described here,

For EverWeb + Hosting customers will be adding this feature automatically for you in an upcoming release. Stay tuned for our announcement.


I hope this post was useful and if you have any questions, be sure to post in the comments below.


EverWeb 1.8.1 Released!

July 8th, 2015

We have just released an update to EverWeb. This new version (1.8.1) contains several fixes for many widgets which previously displayed a ‘file not found’ error message after publishing on OS X 10.7 and 10.8. We have also included an updated PDF user manual, which can be found under the Help menu. Download the new update from within the application by going to EverWeb > Check For Update, or by visiting EverWeb’s downloads page.

Other fixes include a fix for certain widgets not being displayed properly when previewed, and a fix for the video widget. There are also new localizations for Japanese, Spanish, Italian, and German.

The full list of changes can be seen below.

Just a reminder that if you were experiencing issues publishing with 1.8, please use the Publish Entire Site option from the File menu.

CHANGES
– Fixed a bug in 1.8 where image sliders, video, audio, and many third party widgets would display file not found errors when published on OS X 10.7 and 10.8
– Fixed a problem with background stretch images on Master pages not drawing properly
– Should fix a problem where some widgets would not properly display their preview within EverWeb and only display a green ‘updating’ icon
– An updated PDF user manual (under the Help menu)
– A fix for the video widget no working (make sure to make a small change to any page that uses the video widget so that it will be republished OR republish your entire site)
– A fix for some changes not publishing, specifically the navigation bar when adding new/deleting/renaming pages that are included in the navigation bar
– It includes debugging information for the crash some users are getting when publishing. If you continue to get a crash when publishing with this version, please make sure to copy and paste the crash report to us so that we can take a look at it.
– Checking for unused assets and checking for which page is using an asset works for custom code in the header and footer fields now
– No longer uses fancy quotes in header/footer fields
– ‘Check for Update’ will download the right version for 10.6 users now
– Imported new localizations: Japanese, Spanish, Italian, German

Changes In EverWeb That Make Your Website Faster

July 5th, 2015

The speed of your website is a top priority for us and an important indicator of the quality of your site. We know that visitors hate slow loading website and that search engines can penalize your website for being slow.

EverWeb already includes lots of features to help make websites load quickly, but we’re always working on more.

In EverWeb 1.8 we made a number of changes to make sure you website loads faster for you visitors;

1. We only include jQuery when required by a widget you may be using

2. We provide an option when importing PSDs, TIFFs and PDFs to convert them automatically to a web format, significantly reducing the file size and the time it takes a them to load in your browser

3. We have an all new option to automatically optimize PNG files on export so they have a smaller size but the same image quality

4. We only include the styles and typefaces actually used with Google Font so they load faster

Along with the above, we have already implemented significant optimizations for the next version of EverWeb. In fact, the new features coming in version 1.9 have already reduced the EverWeb website by 35% in file size and made it load significantly faster.


Are you using the EverWeb Discussion Forum?

July 2nd, 2015

Did you know we have thousands of users participating in the EverWeb discussion forums? If you’re having a problem with EverWeb or just want to talk with like minded people, come join us on the EverWeb discussion forum.

The EverWeb discussion forum has a wealth of questions and answers to help you with virtually all your issues. There’s also some really smart people in there that can help you work through an issue you may be having.

EverWeb developers are also around to help you with issues as well. Sometimes we even post beta updates so you can see what’s coming in updated releases of EverWeb and help shape it’s future.

So come join us on the forums, we’re looking forward to meeting you!

Some other helpful resources;

The EverWeb Video Tutorials

The EverWeb SEO Video Course

The EverWeb Facebook Group