We get some questions from iWeb users wondering why they should use EverWeb when iWeb may still be working for them. Instead of going through all the new features an EverWeb site can have over an iWeb site, I wanted to discuss three tips that make actually designing and maintaining your site so much easier.
EverWeb’s Master Pages
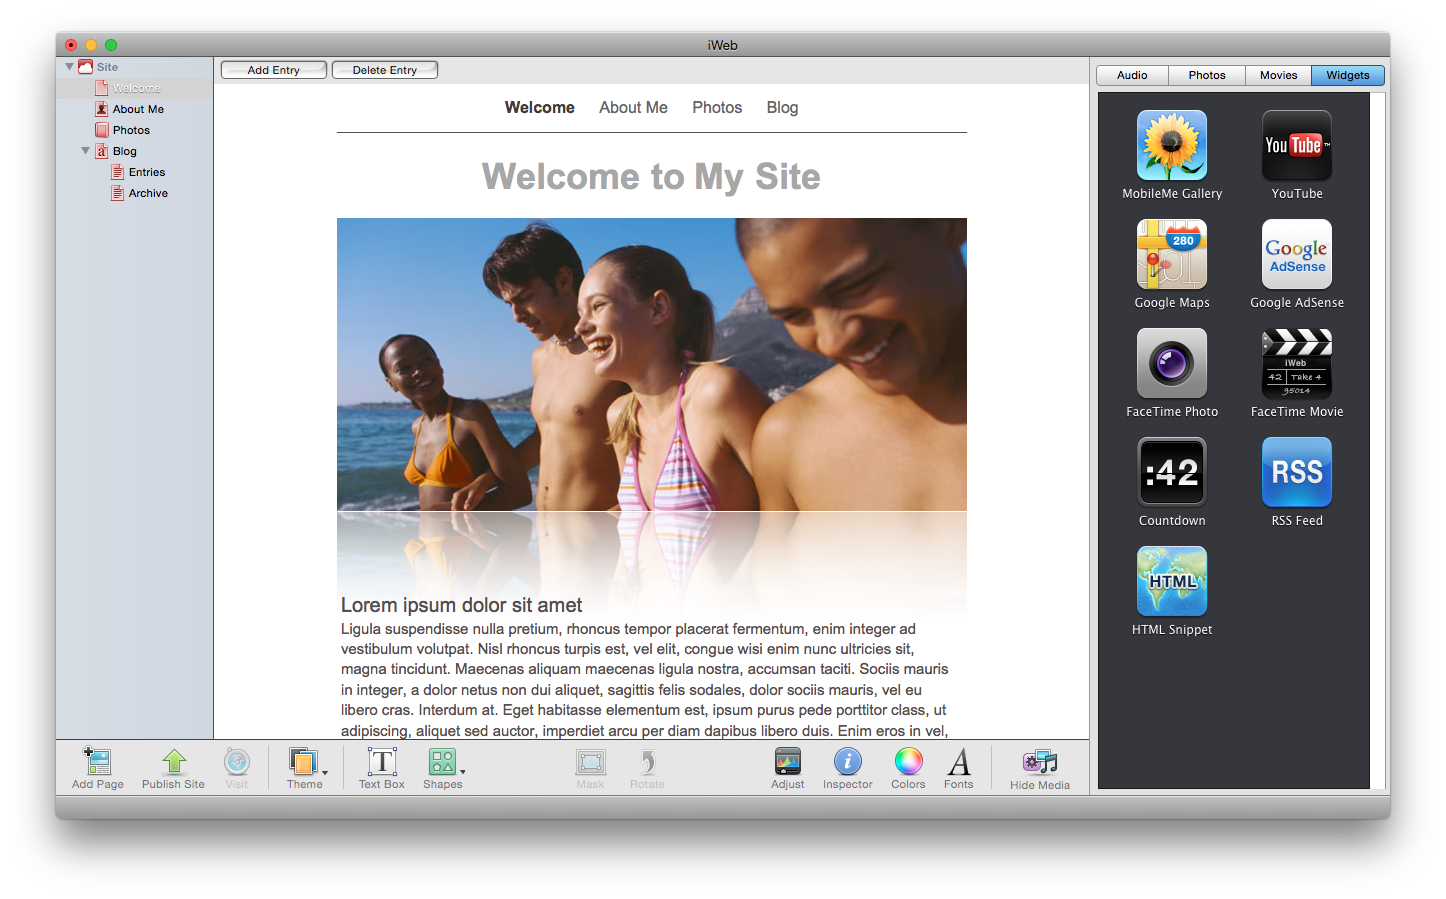
So you’ve built your site with Apple’s iWeb and probably found it very easy to use. But, what happens when you want to make a change to your website’s design? In iWeb, you have to go through every single page to do this.
In EverWeb, you just have to use the super simple Master Pages features. Master Pages let you design your site once and use that design on every single page of your site. Furthermore, you can create an unlimited number of Master Pages if some pages need different designs than others.
Simply go to the File menu and select ‘New Master Page…’. It works just like creating a regular page.
Once your Master Page is created, select the pages on your site that you want to use this Master Page and go to the Inspector and select the ‘Page Settings’ tab(first tab). Right at the top you can assign the Master Page.
Now, you only have to update the design of your Master Page and any page that uses this Master Page gets updated too. Super simple, and extremely time saving!
Object Grouping
Have you ever had a group of shapes, images text or design elements that you always want to keep together?
EverWeb has a grouping feature which treats multiple shapes as just one shape meaning they stick together exactly as you have designed them. When you move them around, they all move around as one object.
It’s a great way to better manage your website design.
To use grouping, select the objects you want to group together and go to the File menu and select ‘Group’. You can always ungroup objects in the same manner.
Object Locking
Isn’t it annoying when you’ve placed an image or text exactly where you want it but then when moving another object you accidentally move it?
With EverWeb’s object locking you can lock any object in place so it can’t be manipulated until you actually go back and unlock it.
This feature is great to avoid unwanted web page design changes and greatly reduces the amount of mistakes you can make while designing your website.
To lock an object, select it and then go to the Format menu and select Lock. You can unlock a locked object by following these same instructions.
There you have it, three great ways to make website design and management much simpler and easier. If you have any productivity tips you’d like to share, please do so in the comments below.