NEW Video Backgrounds and Updated Page Backgrounds in EverWeb 4.1!
March 14th, 2024One of the most user requested features comes to EverWeb in our latest 4.1 release – Video Backgrounds! Find out all you need to know below! In addition, there are also some great updates to Image Fill for both Page and Browser Background options to enjoy!
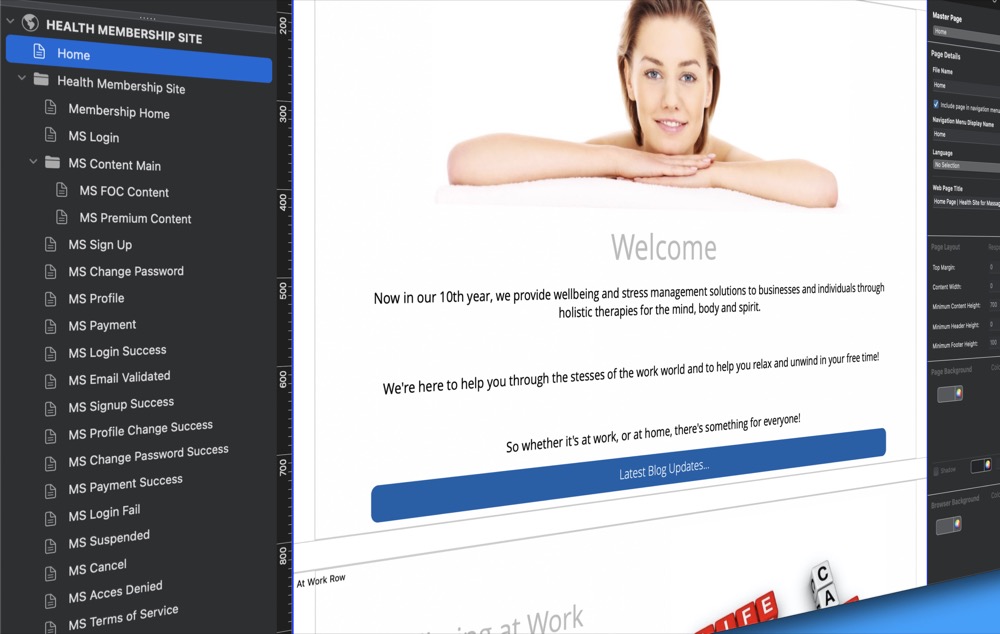
To use the features described below, simply open your EverWeb project file, then go to the Page Settings tab in the Inspector Window.
NEW Video Background Feature Comes To EverWeb
If you are using EverWeb 4.1 or higher, you can now add a video background as a Browser Background. In the Browser Background section of the Page Settings tab, click on the dropdown menu to the right of the words ‘Browser Background’ then select Video if it is not already selected. You will see various options displayed. Start by choosing the video source from the dropdown menu. You have four options to choose from:
External Video URL
The External Video URL option allows you to easily link to videos from other sources such as YouTube or Vimeo. All you need to do is enter the URL of the video that you want to use in the box below the menu option.
Local Video File
If you choose the Local Video File option, you can choose a video for use as a background from your project file. Click on the ‘Choose… button then select the video you want to use from the Assets list.
YouTube Video
To use this option, first go in to YouTube then choose the video you want to use. Click on the video’s ‘Share’ button then click on the ‘Copy’ button which will copy the video’s URL to the Clipboard. In EverWeb, paste in the link in the box below the video type selection dropdown menu.
Note that you can also use the External Video URL menu option as well as it works in the same way.
Vimeo Video
The Vimeo video option also works in the same way as the External Video URL and YouTube options. Just select the video in Vimeo that you want to use, copy its shareable link then paste it in to the box below the video type selection dropdown menu.
Video Background Options
Once you have done this, you can set options to loop the video and fix the video in place on screen if you want. Additional options allow you to set the scrolling speed of the video, and whether the video can be played on tablet or mobile devices. There is also an option to add a thumbnail image to the video which is useful if you know that the video will take time to load prior to playing.
Video Background Q&A
Here are some useful hints and tips that may help you when using EverWeb’s Video Background feature:
- When you set a video background, you will need to Preview, or Publish, your site to see it working. You will not see the video background in your project’s Editor window.
- If you find that your video is obscured when previewed or published, it is probably because the Page Background is set to ‘Color Fill’ or ‘Image Fill’. Set the Page Background to ‘None’ if this is the case.
- Be careful if you decide to use the Local Video File option as the video will be stored in your project file’s Assets List. This may make the project file very large (depending on the size of the video) and you may find it takes longer to publish your project file as well.
- If you are using a large video file, test first before publishing. You may need, or want, to use a video Thumbnail image which can be displayed whilst the large video loads.
Improved Image Fill Features For Page & Browser Backgrounds
In addition to the introduction of Video Backgrounds to Browser Backgrounds, EverWeb 4.1 also sees improvements if you are using Image Fill option for your Browser Background. You can now set the image alignment both horizontally and vertically. Furthermore, you can also fix the image in place so that it does not scroll as you scroll the page.
If you are using the Page Background feature, you will see the same improvements with buttons available for you, to horizontally, or vertically align your image. as well as the ability to fix the position of the image.
Image Fill for Page Background also gains two new options with the introduction of Tile Vertical and Tile Horizontal to the existing Original Size, Stretch, Scale To Fit, Scale To Fill and Tile options. Just set the option you want using the dropdown menu to the right of the image thumbnail. For more flexibility you can also adjust the vertical and horizontal alignment as required.
Find Out More About EverWeb 4.1
The new Video and Page Background features are just two of the new features of EverWeb 4.1. Check out our What’s New in EverWeb 4.1 post to find out more about our new release!