32 Bit Apps Such as iWeb Not Supported in Apple’s Next Generation macOS!

Thursday, May 23rd, 2019

During the month of May, there is always press speculation about what the future holds for Apple’s major operating systems: iOS, watchOS, tvOS and, of course, macOS. This year is no exception, but one thing is sure… support for 32 bit applications in Apple’s macOS operating system will end with the release of Apple’s new 2019 software for desktop and laptop computers.

The end of 32 bit support has been flagged since June 2018. Last year’s Apple World Wide Developer Conference announced that with macOS Mojave (10.14) there would be warnings when launching 32 bit apps they should be converted to 64-Bit ASAP as they would not be supported in Apple’s 2019 macOS release.

One year later and we’re almost at the next WWDC and the next macOS will then be only a few months away.

If you are still using iWeb, this should give you pause for thought especially if you plan to buy a new Mac with a new OS on it in the near future! Now may be the time to switch from iWeb but will it be easy to do so? With EverWeb, we think it’s really easy! Here’s why…

Why Go From iWeb to EverWeb?

  • Both iWeb and EverWeb are drag and drop website builders for the Mac.
  • iWeb and EverWeb have similar User Interfaces making the learning curve a lot quicker when moving from one to the other. You’ll get up to speed in EverWeb in next to no time.
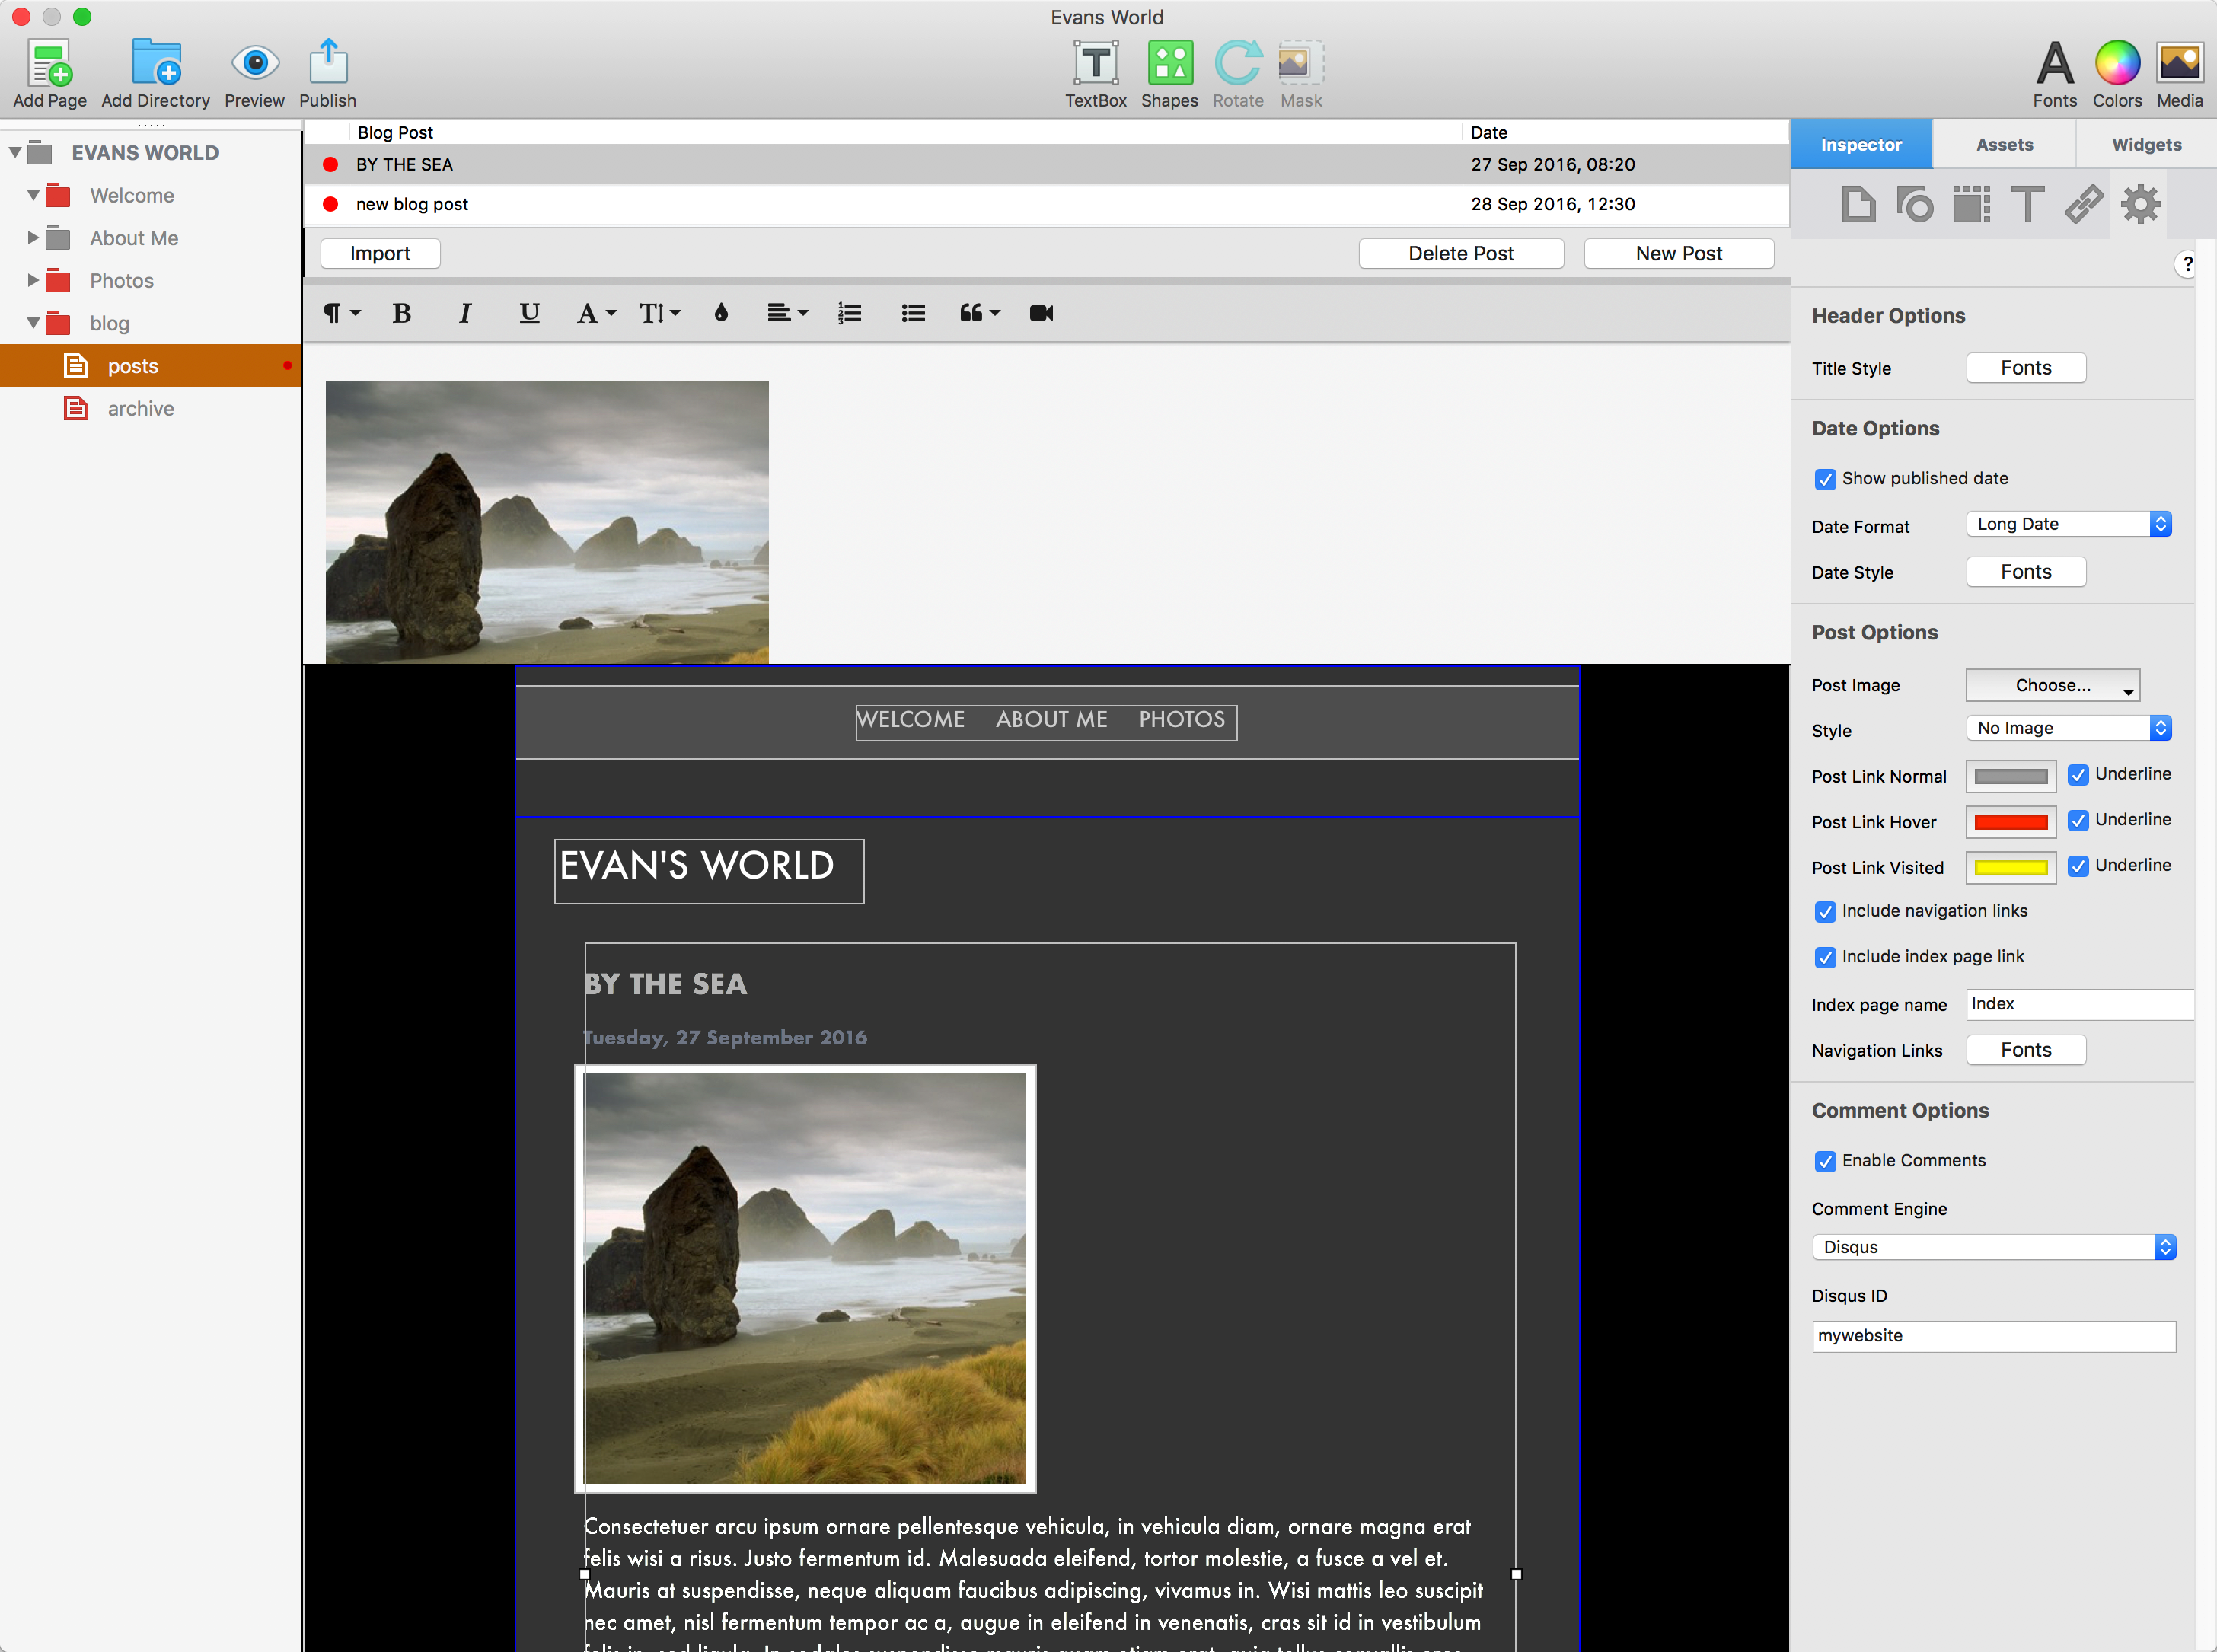
  • Both products support blogging. You can easily import your iWeb blog in to EverWeb with just a few mouse clicks.
  • You can host with your own provider or with EverWeb which gives you extra benefits built directly in to the product such as password protection, 404 page not found, 301 page redirects and regular product updates throughout the year
  • EverWeb fulfils the promise of iWeb with responsive web design, template pages, 100’s of free themes, in product SEO for better Search Page Results Rankings, animation effects, PayPal e-commerce built in, in product website project backups, fast, one-click publishing and much, much more.
  • EverWeb always keeps up to date with technology, so there is always something new to enjoy with every product update which usually happens every couple of months.
  • You will no longer have problems with iWeb crashing or other associated issues that hinder you working. EverWeb has been a 64 bit product for over a year and our regular product releases throughout the year always include stability and maintenance fixes.
  • EverWeb comes with 7×24 support 365 days a year if you have a valid user licence. There’s also the EverWeb community where you can ask questions, suggest features that you would like added to the product, try out the latest beta test versions of EverWeb and see what’s available from EverWeb’s third party providers.
  • Check out EverWeb’s blog (yes you’re here!) and also our YouTube channel that’s packed width videos about every aspect of EverWeb.
  • EverWeb is not a subscription service so you alway keep the product that you initially purchased if you do not want to renew after the first year. You keep the product and any website you have built.
  • And last but not least, EverWeb is now in its sixth year and we continue to grow and innovate! We’re committed to delivering the best we can offer to our community.

EverWeb Addon Products

EverWeb can be purchased as a standalone product if you have your own hosting provider, or with EverWeb+Hosting Lite and Hosting Pro options to suit all needs. There are also additional products that you can add to your purchase such as Site Shield Addon for HTTPS Secure websites.

Third party widgets and theme template add-ons are also available if you cannot find exactly what you need out of the box!

Making The Switch Even Easier

EverWeb Professional Services are also available so that if you do not want to recreate your iWeb website yourself in EverWeb, we can do it for you! If you want us to design a brand new website for you we can do that as well with a number of flexible options available.

You can find out more about EverWeb directly from the EverWeb website. Why not download EverWeb today? The download is the full product with the only restriction being that you cannot publish your website either locally or to the Internet unless you purchase the product.

If you have any questions relating to iWeb and EverWeb, please let us know in the Comments Section below.

EverWeb on Social Media

You can also find EverWeb on the following social media platforms:

Facebook

Flipboard

YouTube

Twitter handle @ragesw


Converting Your iWeb Website To EverWeb

Sunday, December 18th, 2016

Converting iWeb Websites to EverWeb


For many iWeb users, the introduction of blogging to EverWeb 2.0 makes it a perfect time to finally port legacy iWeb websites over to EverWeb. If you’re planning to convert your website, here are some things to consider before you begin that will help save you time and effort along the way…

  1. Use Master Pages: iWeb doesn’t use template pages but EverWeb does with Master Pages. It’s a good idea to think about the common features of your iWeb pages that can be collected together in to one or more Master Pages if your website has more than a few pages. Page dimensions, page and browser backgrounds, navigation menus, header and footer content, social media buttons and the like are ideal to put in to a Master Page. Attach the Master Page to your regular web pages to give your website a consistent design. If you want to change your design at any time, just edit your Master Page and all pages that have it attached will be updated with the changes.
  2. Fonts and Color Settings: Your website probably uses different font styles and sizes. Make a note of anything that you want to transfer over. Check your font and color settings in iWeb and make a note of them so that you can use them in EverWeb. If you have difficulties matching colors, try using the Digital Color Meter that comes with your Apple OS to get accurate color values.
  3. Widgets: You’ll probably find that some of the iWeb widgets you have been using are included in EverWeb, often with updated features and functionality. There are also a lot of other widgets built in to EverWeb that iWeb does not have. If you cannot find what you want, third party widgets are available either free or paid for. Our EverWeb Third Party page has more information.
  4. Update your website: Technology has come a long way since the demise of iWeb over five years ago. Now is a great opportunity to update and modernise your website. If you’re new to EverWeb, check out the features in our YouTubevideos or from our blogs. You may find simpler, modern solutions in EverWeb that iWeb doesn’t have e.g. drop down menus, fixed position, always on top, support for SEO, mobile websites, widgets and so on… Whilst updating may mean adding new features to your website, remember that it’s also an opportunity to streamline your website and update your web page content if you haven’t done so for a while.
  5. Include SEO: iWeb does not include any SEO features so this is one area you should be focus on. The best way to start with SEO in EverWeb is by checking out the SEO for EverWeb Course. Remember, as well as keywords for SEO, rename any image files to be SEO friendly if you have not done so already  e.g. if you have an image of a teapot that has a file name of ‘IMG0001.jpg’, rename it to something more meaningful e.g. teapot.jpg
  6. Optimize and Rationalize: Whilst on the subject of image files, look at your image files and optimize them if they are large to help page loading times. Use a graphics program to reduce the file size to be more web friendly. There’s also retina display now which iWeb does not support. Our YouTube video has more information on using retina images in EverWeb.
  7. Find Your Files: If you can’t locate your original image files, open your website in iWeb and use the File -> Publish to a Folder menu. Once published, your image files will be located in a folder where you can drag and drop the image files from in to EverWeb. iWeb has an unusual file and folder structure so you may find that the original image has been duplicated many times in to different folders. Each iWeb web page has it’s own folder which will contain images, often renamed by iWeb to ‘shapeimage’ followed by a number. Find the best resolution image you can then copy it to another location (e.g. to your desktop) and rename the file to something meaningful. Drag and drop the renamed file in to the Assets List of your  EverWeb project. You can drag and drop the image file from the Assets List as many times as you want on to the web pages you create in EverWeb without having to reimport the image every time.


Moving Your iWeb Website to EverWeb

When you recreate your website in EverWeb, the easiest way to bring text over is to cut and paste it from the iWeb page in to the corresponding EverWeb page. For image files, drag and drop them in from their source wherever possible. Remember if you use an image more than once in your website, you only need to import it once in to EverWeb. Once imported, drag and drop the image from the Assets List on to the pages you want to include the image on.


Importing iWeb Blog Entries

To import your iWeb blog entries:

  1. Start by ‘exporting’ your iWeb project from iWeb using File -> Publish to a Folder to a location on your hard disk.
  2. Next, go to your EverWeb project file and create a blog if you have not done so already.
  3. To create a new blog select the ‘blank’ theme and the ‘blog’ page style.
  4. When the blog has been created, you will see it in the Web Page List. Click on the ‘posts’ page.
  5. In the Editor Window, click on the ‘Import’ button in the Blog Posts List.
  6. The dialog box displays ‘iWeb’ by default as the import format so click ‘Import’ to continue’.
  7. Navigate to the location of the iWeb project that you exported earlier. If you have more than one iWeb project, you will see all of them listed. Select the folder of the iWeb website blog that you want to import, then click ‘Open’.
  8. Click on the name of the blog in the next dialog box and press ‘Import’ to load the blog entries in to EverWeb.


The blog Create Your First Blog Post in EverWeb 2.0! has more information on formatting blog posts.


When converting your iWeb website to EverWeb, perhaps the most important task is the planning. Getting to know EverWeb and it’s features is also a good idea if you are new to the product. Getting to know EverWeb will help you decide how best to modernize your iWeb website for today’s needs such as for mobile environments.


If you would rather have us convert and update your website for you, please take a look at the Convert your iWeb website to an EverWeb Site post for more information.


As always please let us know if you have any comments and questions. We’re happy to help.


EverWeb on Social Media

You can also find EverWeb on the following social media platforms:

Facebook

Google+

Flipboard

YouTube

Twitter handle @ragesw

NEW! iWeb to EverWeb Website Conversion Service Launched!

Wednesday, November 23rd, 2016

We’re thrilled to announce the introduction of our new iWeb to EverWeb website conversion service!

With the all new blogging feature we introduced last week, we have gotten a lot of requests for help in upgrading an iWeb website to EverWeb.

When iWeb was discontinued almost five years ago, EverWeb was created to provide a similar, yet more powerful,  website builder to iWeb users. Now with the new blogging engine, you can do everything in EverWeb, plus a lot more.

We’ve just introduced a service to help you convert your iWeb site to an EverWeb site. We can deliver you the exact same iWeb site, built with EverWeb in under 7 days so you can start taking advantage of EverWeb’s modern features including:

  1. Optimized mobile pages
  2. Built in Search Engine Optimization features
  3. Drop down menus
  4. Advanced contact forms
  5. Rollover mouse effects
  6. Master Pages
  7. Popup windows
  8. 24/7 customer support
  9. Support for the latest version of macOS
  10. And so much more…

Fill out our online form and we’ll get a quote to convert your iWeb site to EverWeb as soon as possible!


Always keep up to date with EverWeb on your favorite social media platform!

Facebook

Google+

Flipboard

YouTube

Twitter handle @ragesw

EverWeb 2.0 Preview – Importing Your iWeb Blog Entries

Sunday, October 16th, 2016

We’re currently beta testing EverWeb version 2.0, but in the meantime we’re so excited about it that we wanted to share some things about the upcoming release with you! As you may know, blogging is coming in EverWeb 2.0! This headline feature will be available to EverWeb+Hosting users and for those of you who have your own Hosting provider. There’s also great support for iWeb and WordPress users included. For now, we’d like to tell you some of what iWeb users can expect…


iWeb blog posts can be easily imported in to EverWeb version 2.0

The new blogging environment in EverWeb version 2,0! In this screenshot, an iWeb blog entry has been imported and the original image drag and dropped in to the blog post. The recreated blog post took only a few minutes to do!


Import Your iWeb Blogs in to EverWeb!

EverWeb version 2.0 will easily import iWeb blog entries into EverWeb’s blogging feature. EverWeb 2.0 will make it simple and straightforward to transfer your blog titles and text over with just a couple of mouse clicks.

The screenshot below shows a sample iWeb blog entry imported in to EverWeb version 2.0. The blog title, date, time and main body text are quickly added in to your EverWeb Project file’s blog. We spent only a couple of minutes formatting the EverWeb version to match up with the original just to give you an idea of what’s coming soon.


The original blog entry from iWeb can be easily recreated in the new version of EverWeb

The original blog post from iWeb which has been recreated in the next screenshot with the forthcoming EverWeb 2.0 release.


In EverWeb 2.0, you will be able to quickly format all blog posts at once by adding Master Page like features directly in the Blog Post Preview Window. You will also be able to easily edit blog posts using a great in-line editor which includes features such bullet lists,  numbered lists, quote levels, paragraph styles and more. There’s also a choice of Disqus and Facebook Comments for your comments engine, so your visitors can join the conversation!


The recreated iWeb blog post in the soon to be released EverWeb version 2.0.

The recreated blog post in EverWeb version 2.0 uses Master Page style features to save you time and effort. There are lots of new and updated features for all iWeb blog developers to enjoy.


In our example screenshot above, once the text was imported from iWeb in to EverWeb version 2.0, the page and background colors, as well as the page dimensions, were changed using the Page Settings tab in the Inspector Widow.

The blog post Widget Settings were used to change the blog post’s fonts to look like how they were in iWeb. The Navigation Links to the previous post, next post and blog index were also changed and a Comments Engine added (not shown) so visitors can comment on the blog post.

A Navigation Menu Widget from EverWeb’s Widgets tab was added at the top of the page to give the blog post the same navigation as it had in iWeb.

Finally, the blog entry’s image file from iWeb was drag and dropped from it’s original location on the hard disk on to the Blog Post Editor Window, centered and given a background frame using a shape.


Recreating blog posts from iWeb is easy and our example only took a few minutes to make. Remember that there will be some differences between the iWeb and EverWeb but it’s a great opportunity to update the look of your blog with EverWeb version 2.0 features that keep your website fresh, up to date, easy to change and easy to mange in the future.


We’ll have another update soon on the upcoming EverWeb 2.0 release!


We’re happy to help if you have any questions, comments or feedback for us!


…and don’t forget that you can also find EverWeb on the following social media platforms:


Facebook

Google+

Flipboard

YouTube

Twitter handle @ragesw


EverWeb 1.2 Adds Master Pages

Wednesday, January 29th, 2014

We’re very please to announce the second major update to EverWeb.

EverWeb is the easy to use website builder that takes up where Apple’s iWeb left off. EverWeb lets anyone build professional, modern websites that work in any web browser, including Internet Explorer.

EverWeb 1.2 adds Master Pages which let you design your website once and have any changes automatically be applied to every page on your site. With Master Pages you design your site once, then assign the Master Page to each page on your site. Each page that uses the Master Page will use the same design and can be updated by simply editing the Master Page.

See How to Use Master Pages in EverWeb

EverWeb 1.2 also fixes problems when working with large websites and improves all around stability. This update is free for users who have an active EverWeb support license. You can also start using EverWeb for free to see if it is right for you.

With EverWeb 1.2, upgrading from iWeb is even easier. You can design your iWeb site once as a Master Page and assign that Master Page to all pages on your site. You won’t have to redesign each page on your site.

Let us know what you think of this update by commenting below.

* EverWeb is a drag and drop website builder that allows you to make your own website without any prior website building experience.

EverWeb Easily Creates Mobile Websites

Wednesday, August 7th, 2013

If you haven’t heard of EverWeb (formerly EasyWeb), our iWeb replacement app, you can join the Facebook group and get in the discussion.

EverWeb is currently in beta testing phase but we wanted to show off how easy it is to create a mobile website.

This video tutorial will show you how you can easily create your Mobile site in just a few steps.


What is EverWeb?

EverWeb is the all new, drag and drop website builder. If you loved Apple’s iWeb, you’ll love EverWeb even more. EverWeb builds off where iWeb ended adding features such as;

  1. Mobile websites
  2. Drop down menus
  3. Built in search engine optimization
  4. Fast loading websites
  5. Social media integration
  6. Much more…

Best of all EverWeb is FREE for Web hosting customers.

Join the EverWeb Facebook group to learn more.

Google Maps Not Working In iWeb Post MobileMe

Wednesday, August 29th, 2012

Those of you who have a Google Map on your website might have noticed that after MobileMe was discontinued, your map no longer worked. The video below will show you what to do if you are one of the many users in this situation.

VIDEO TRANSCRIPT:

Now that MobileMe has been discontinued, you might have noticed that the Google Maps widget that is included in iWeb will no longer display correctly. Instead, you might see just a piece of that MobileMe is closed sign.

To correct this problem, first what you’ll need to do is remove the Google Maps widget from your iWeb site. You can do this by simply clicking on the widget and hitting the delete key on your keyboard.

Next, go to maps.google.com, and in the search bar, type in the address for your business and hit return to perform the search. Next, click on the icon with the chain link and copy the code under Paste HTML to embed in website.

Now, back in iWeb, drag an HTML snippet onto your page, and paste the code. Your map should appear. If you want the map on multiple pages on your site, click the respective page, drag and drop the HTML Snippet, and once again paste the code.

iWeb SEO Tool Update Fixes iWeb Publishing Errors

Tuesday, June 19th, 2012

As MobileMe is being discontinued in less than 2 weeks, many users are discovering that publishing their website to an FTP server sometimes produces cryptic errors that prevent your website from being published.

This is actually a bug in iWeb, and in most FTP publishing tools. Fortunately we have fixed this publishing bug and included it in our newest release of iWeb SEO Tool.

Now you can make sure your website lives on once MobileMe goes away on June 30th.

Plus, iWeb SEO Tool is free for users who have signed up to our iWeb Web Hosting for a year or more. Make sure your iWeb sites work perfectly with our iWeb Web Hosting and iWeb SEO Tool.

Creating & Embedding An Image Map On An iWeb Website

Monday, February 6th, 2012

Our popular tool MapDesign allows users to create images with certain areas, or hotspots, that when clicked will take the user to different destinations (links). Check out this tutorial for adding an image map to an iWeb website. Make your iWeb site even more professional with image maps made in MapDesign

Video Transcript:

In this tutorial, I’m going to show you how to create an image map, and embed it on your iWeb website. If you are not familiar with image maps, imagine that you have an image on your site that allows users to be able to click on different areas of the image and be taken to different pages.

I’m going to show you how you can easily make an image map, and place it on your website in iWeb using RAGE Software’s MapDesign.

So the first thing we need to do, is drag and drop our image onto the MapDesign canvas.

Next, we can draw the link areas around certain sections of our image. These are known as hotspots.

On the left hand side, we will see all of the different hotspot locations that we just created. For organizational purposes, we can re-name these hotspots so we know where each one belongs to. Now comes the important part. We must link these hotspots so that when our users hover over them with their mouse, they will be able to click the hotspots to be taken to the page that we linked to.

We can do this by pressing the Edit button, which will bring up the Inspector window. In the Link To text box on the Behavior tab, type in the the URL that you want this particular hotspot to link to. You can also give some alternate text if you’d like. I also want you to check off the Open In New Window option. Don’t forget this step, otherwise it won’t work correctly.

When you are all done linking all of your hotspots, we must then press the Export To Web Site button. In this popup window, make sure that Simple Image Map is selected, and then press Next and save your image to a location on your hard drive that you won’t forget. I am saving mine to my Desktop. You will see that once I save it, I will have an index.html file, as well as an images folder.

Now, open up your web browser, and go to www.imageshack.com

Press the browse button and locate the image that you just saved. It should have the exact same name as the image you see on my screen which is rage_css_imagemap.jpg. Highlight the image, and then press Open. Then press the Upload Now button.

Once your image has been uploaded, you will then need to copy the URL in the Link text field. Paste the link in your address bar, and hit enter or return.

Next, hover your mouse over your image, and do a secondary, or right click and select Copy Image Location. Then paste that URL in your address bar and hit enter or return. Now just double check that only your image is shown using this address. If it is, proceed to the next step.

Locate the index.html file and open it in an HTML editor. I am using RAGE Software’s WebDesign.

Locate the code for the image which will read images/rage_css_imagemap.jpg.

Highlight the text within the quotation marks, just like I am doing here. Press the delete key, and then paste the URL that we had copied from the previous step.

Next, highlight all of the code located within the body tags, and copy it. Next, open up your site in iWeb, and drag an HTML Snippet onto the page. Paste the code that we just copied.

You should be able to see your image, and you will be able to move your image wherever you want on your page

Your image map is now complete, and when you publish your site, you will be able to test your image map by clicking on the hotspots you created.

How To Create Visitor Friendly Short URLs with iWeb

Tuesday, August 24th, 2010

If you use iWeb, you already know that when you type in your website’s URL, once you are taken to your page, the URL in the address bar will forward to your domain name, followed by the site name that you gave in iWeb while publishing, followed by your page’s file name. It will look something like this;

http://www.mydomain.com/long-site-name/page-name.html

What we will show you in this tutorial is how to shorten the URL so it only looks like this;

http://www.mydomain.com/page-name.html

The steps to do this are actually quite simple and if you are already using iWeb SEO Tool there really isn’t much more to it. It does require that you have a real web host with an FTP server, but if you are serious at all about your website, you should have one already.

If you have any questions, feel free to post them below. This video has also been added to the iWeb SEO Video Walkthrough Tutorial